Introduction
Creating product videos has always been one of my favorite parts of filmmaking, but the recent video I produced for my social media handle turned into something truly special. If you’ve seen it, you already know the magic — one clean frame where alcohol bottles switch perfectly on every beat of the music, while a continuous pour flows smoothly into a glass on the right.
What looks like a simple, aesthetic single-frame video is actually built out of nearly 20 separate images, carefully planned, shot, and synced in post-production. And as someone who runs The Vintage Shutter Films www.tvsfilms.in, this project reminded me why I love working on product visuals — they challenge our creativity in tiny but impactful ways.
In this blog, I want to walk you through the full process, from setup to edit. And because many of you follow us for guidance on video creation, I’ll also share a few pro tips that can help you improve your own editing workflow. Whether you’re into product video production services, social media video production, cinematic video production, or you’re simply learning how to structure short-form content, there will be something valuable here for you.
The Concept: One Frame, Multiple Bottles, Perfect Sync
The concept was simple: One frame. Multiple bottle changes. Perfect sync with music. Continuous pour on the side.
Social media today is all about quick, visually satisfying transitions. Brands want videos that grab attention instantly, and this format does exactly that. The moment the beat drops and the bottle switches, the viewer feels that visual “click.” That’s why videos like these work so well for reels — they feel smooth, intentional, and addictive to rewatch.
Since we specialize in social media video production, I wanted the final output to feel modern and polished but still achievable for creators looking to try similar ideas.
Step 1: Setting Up the Lighting & Frame (The Real Hero of This Video)
Even though this was a “single frame” video, the setup was more technical than it looked. The entire table layout, backdrop, bottles, and the glass had to remain unchanged while the bottle switched between each shot.
Lighting Setup Used
- Soft diffused key light angled from the left
- Secondary fill light to soften shadows
- Dark background for contrast and mood
- Heavy-duty tripod for zero frame movement
- Diffuser to control highlights on the glass and labels
The diffuser played a crucial role. Without it, the lighting on the bottle labels would bounce off unevenly in every shot — making transitions look jittery.
Since cinematic video production relies heavily on lighting consistency, every bottle had to reflect light in the exact same manner across 20 shots. One slip, and the whole sequence would lose its smoothness.
Step 2: Capturing 20 Perfectly Aligned Photos
A lot of people assume this video was shot in one take with masks — but it was actually 20 still photographs stitched together and synced.
Why Photographs Instead of Video?
- Higher detail and clarity
- Easier color correction
- Zero motion blur
- Perfect sharpness
- Absolute control over alignment
Shooting Process
- Lock the frame — no zoom, pan, or movement
- Place the first bottle and take the shot
- Replace it carefully with the next bottle
- Repeat until all 20 bottles were captured
While shooting, The Vintage Shutter Films founder was behind the camera, making sure each bottle aligned perfectly with the previous one. Any slight angle change would break the effect. This is where experience in product video production services truly helps — attention to micro-details is everything.
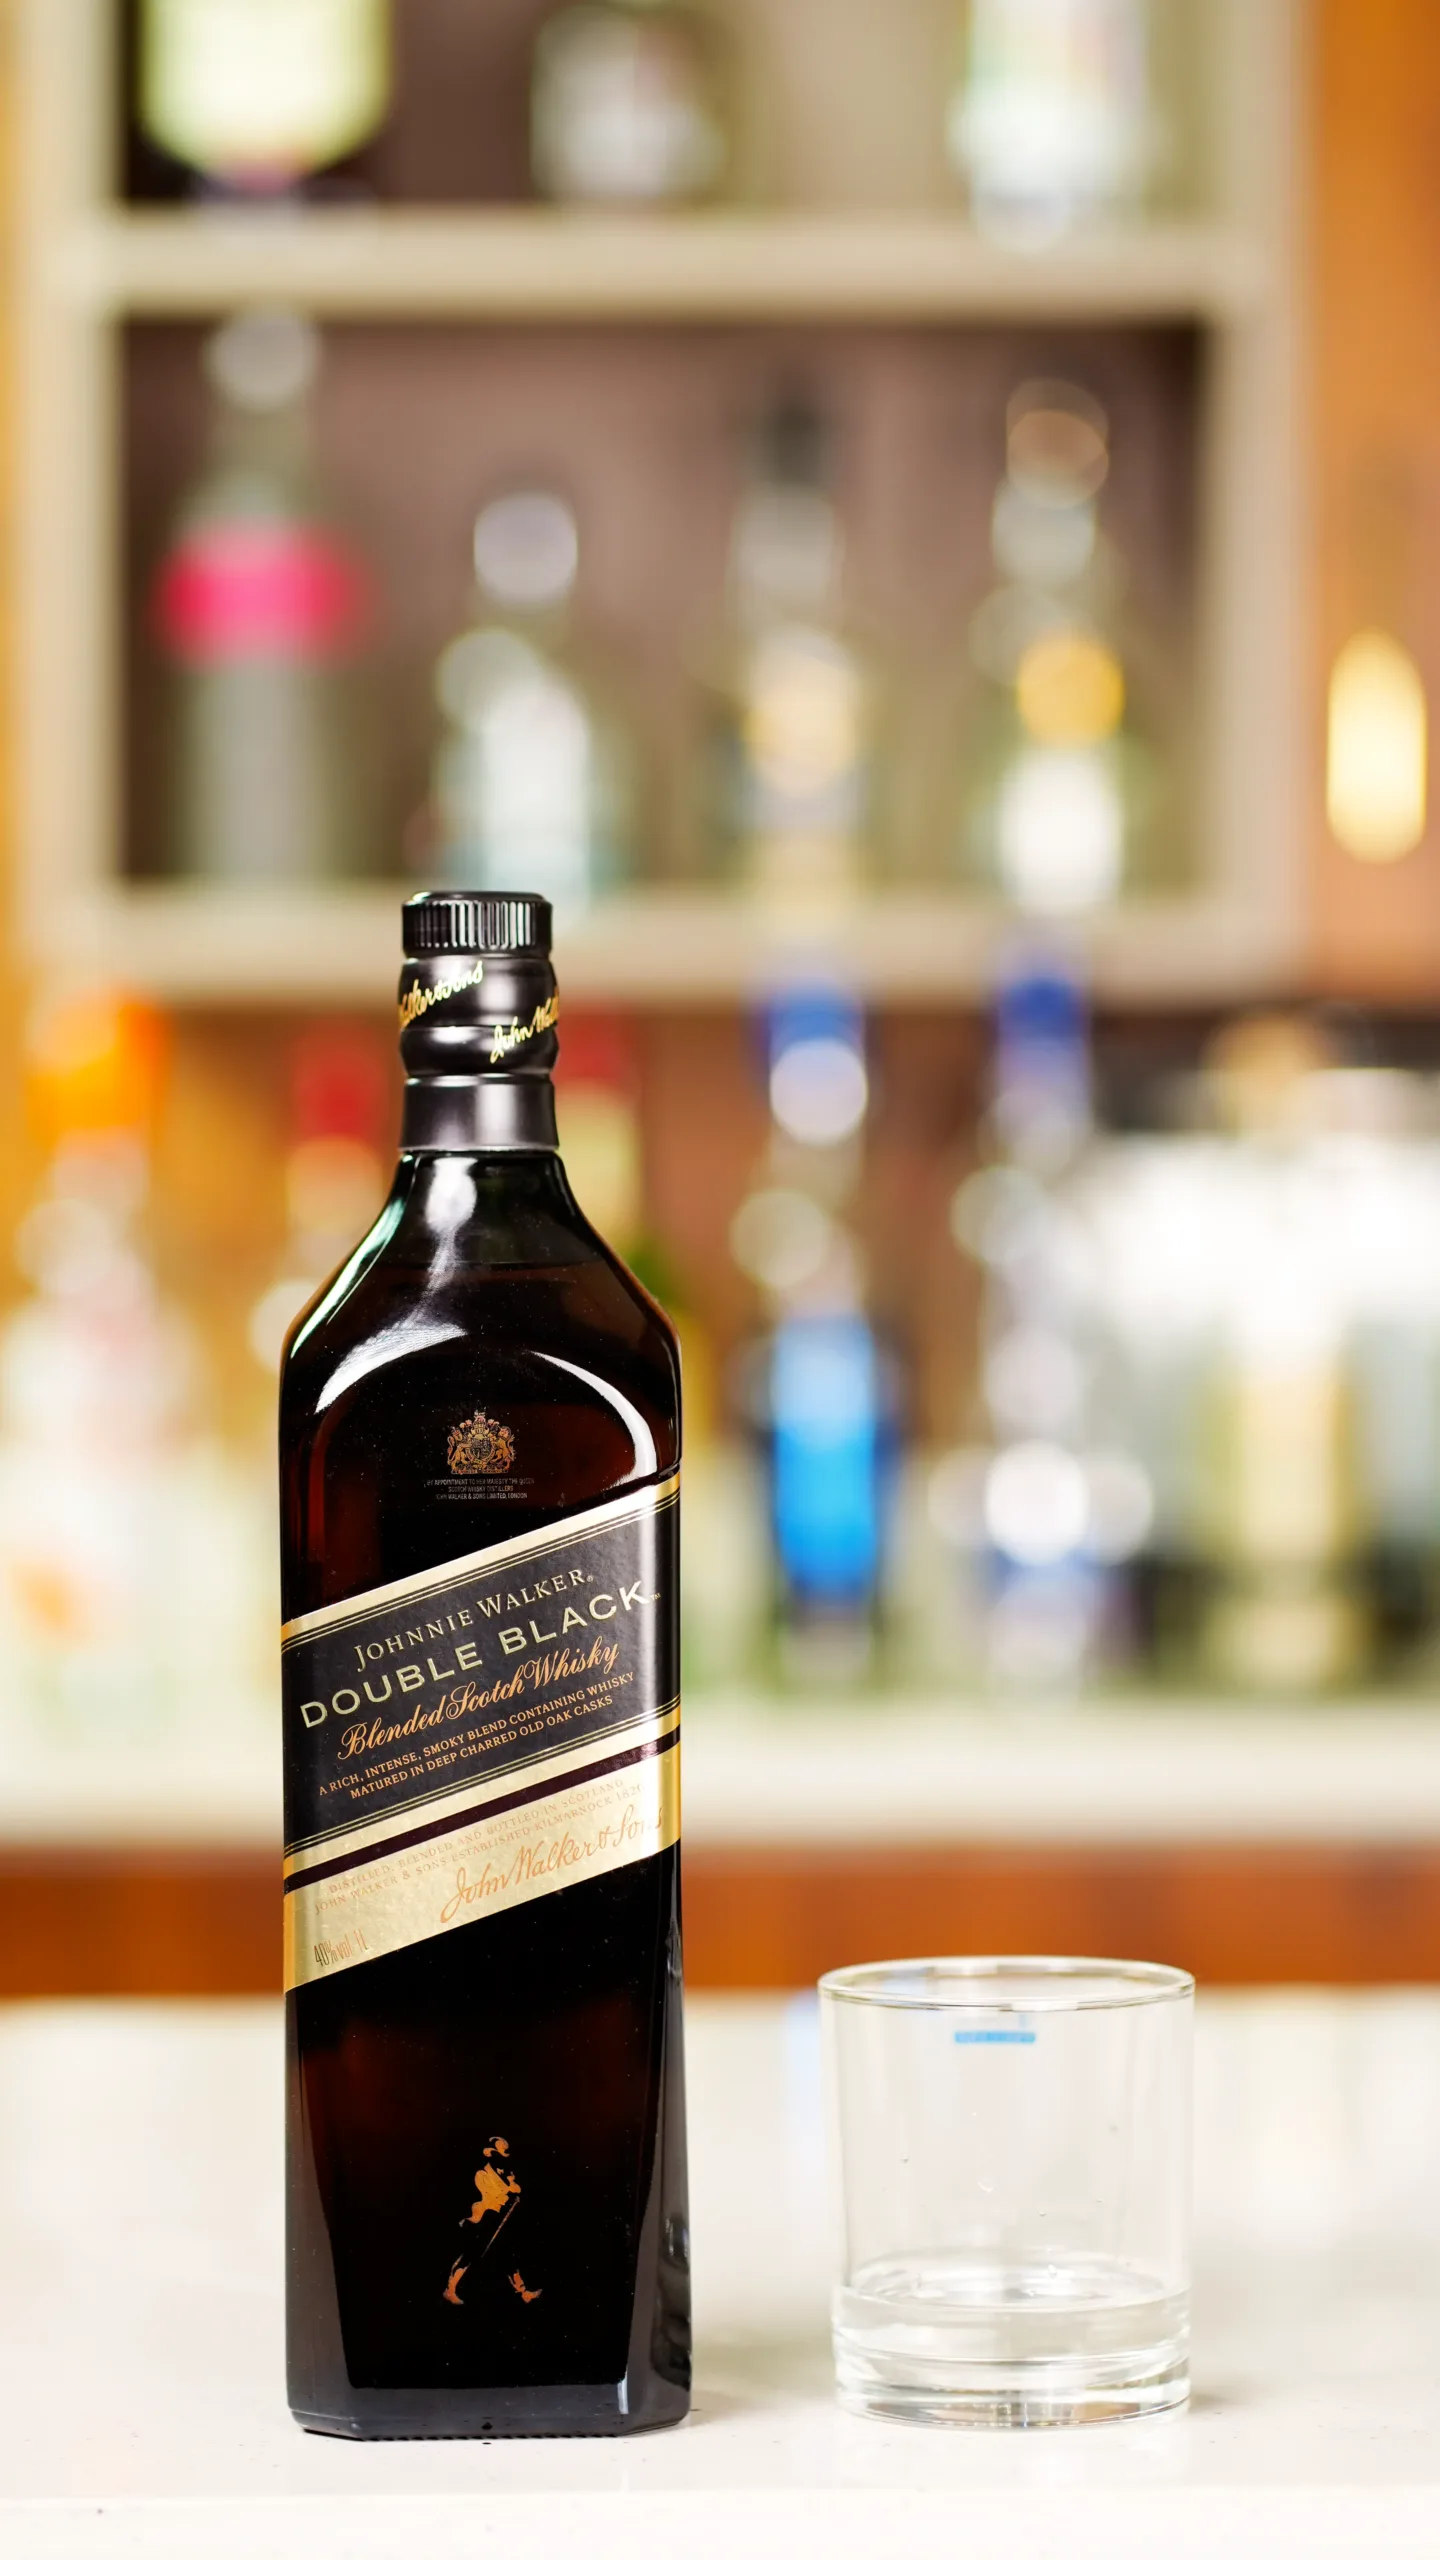
Step 3: Shooting the Pouring Sequence
On the right side of the frame, we placed a clean glass and shot a slow pour of the alcohol. This was a single continuous clip. The idea was to add a dynamic element to the otherwise static bottle-changing sequence.
The pour adds:
- Movement
- Smoothness
- Rhythm
- A sense of realism
While the bottles created the transitions, the liquid pour kept the viewer’s eye anchored.
Step 4: Editing the Final Sequence
Editing Workflow
- Arranging all 20 images on the timeline
- Cutting them precisely to each beat
- Matching the pouring clip on the right
- Adjusting color to blend all shots naturally
- Adding micro-shadows for realism
- Exporting in high resolution for social media
Since we also offer video editing services, social media video editing services, and reels and shorts editing services, I wanted the final video to also serve as a learning model for creators.
The magic lies in pixel-perfect alignment. If even one shot was off by a millimeter, the jump would be visible.
Pro Tips for Creators (Save These)
Always Pre-Plan Your Beat Marks: Before shooting, listen to your music and mark the beats where the transitions should happen.
Use a Tripod With a Locking Mechanism: Shaky frames ruin product videos. Lock your tripod head completely.
Don’t Touch the Table: Even a minor vibration changes the frame alignment.
Keep Lighting Constant: Avoid auto-exposure. Keep everything manual.
Export in High Quality: Instagram compresses videos heavily. Export at high bitrate (15–20 Mbps H.264).
Why This Style Performs Extremely Well on Social Media
When brands or creators invest in social media video production, they want:
- High retention
- Smooth transitions
- Crisp visuals
- Trend-based ideas
This style of video checks every box.
It’s short, satisfying, and visually elevated. Because the bottles change right on the beat, viewers often rewatch it — which boosts the algorithm and helps the video perform better.
As someone who manages www.tvsfilms.in, I’ve seen how even simple product shots can create strong brand impressions when executed with the right visual storytelling approach.
Final Thoughts
This one-frame product video was a reminder that creativity doesn’t always require complex setups. Sometimes, a locked frame, clean lighting, and thoughtful editing can produce a cinematic effect that stands out.