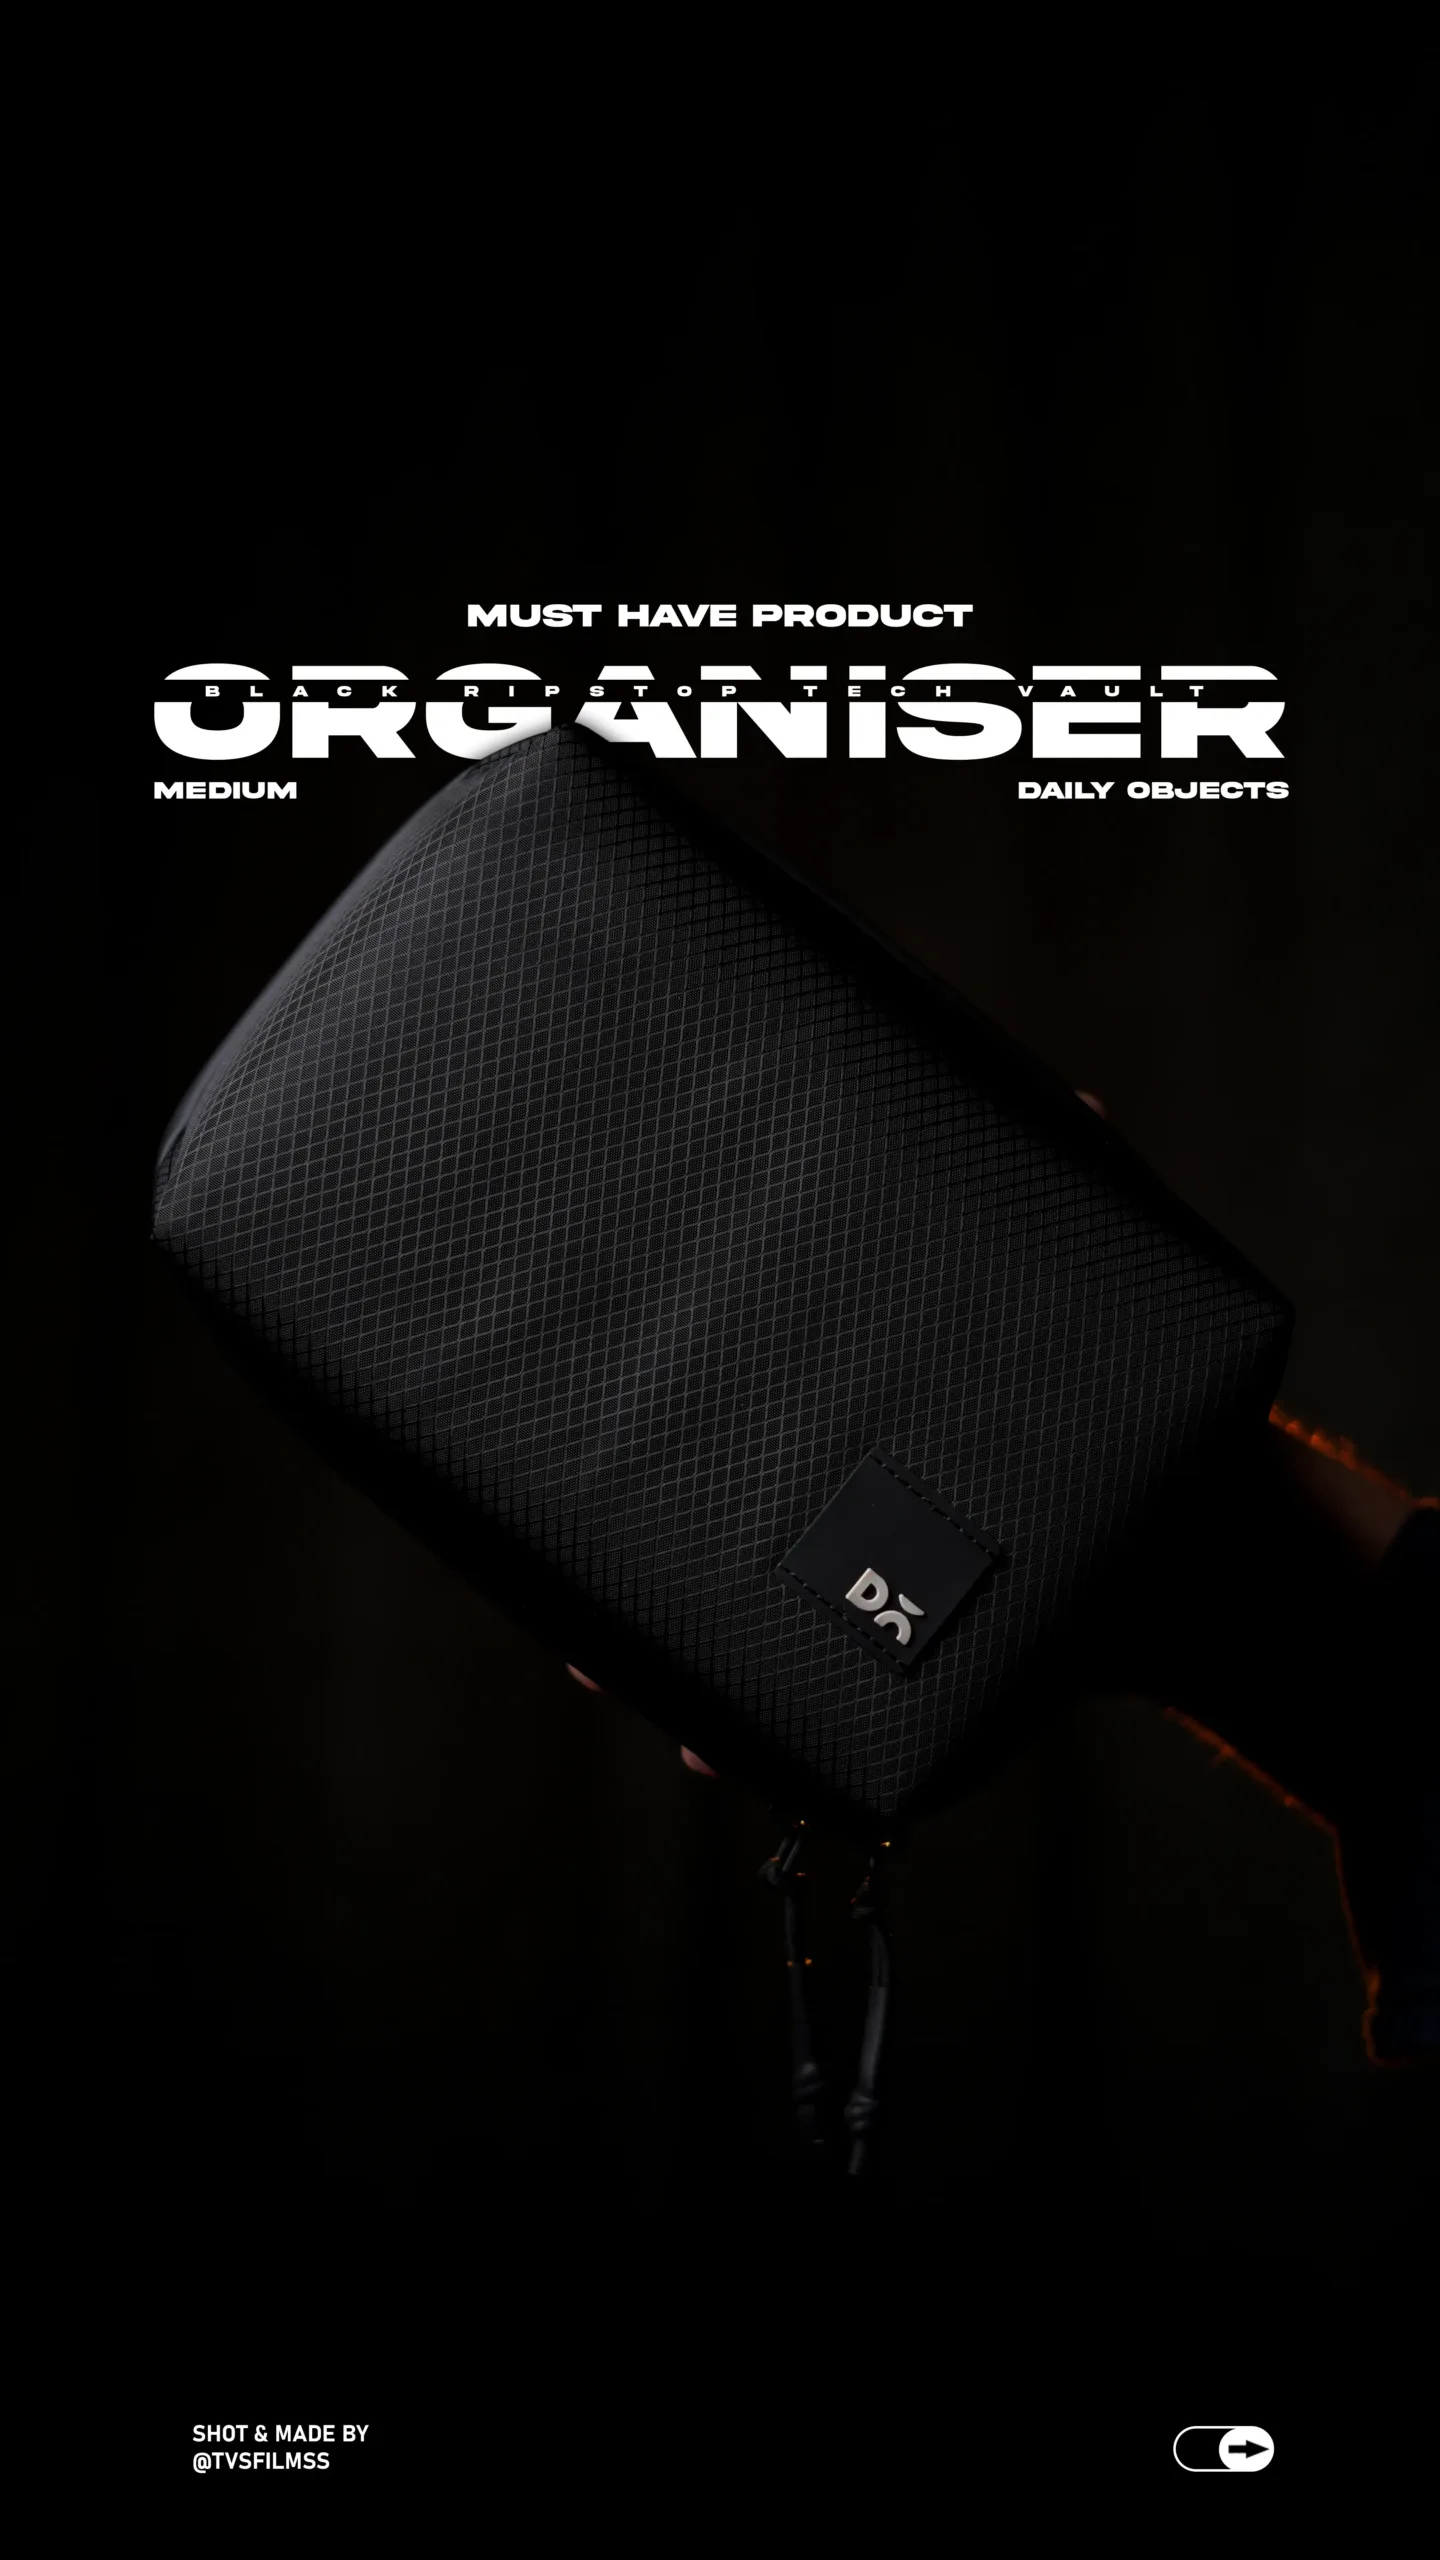
How We Shot an Organizer Bag Reel: A Complete BTS Breakdown
Every time we plan a new product shoot at The Vintage Shutter Films, there’s this mix of excitement and problem-solving that comes before we even touch the camera. The organizer bag video that I posted recently on my social media started exactly like that—an idea that slowly turned into a full BTS-to-final-shot workflow. It wasn’t supposed to be a “big production,” but once we started setting things up, the whole thing became a perfect example of how professional product video production services actually work behind the scenes.
If you’ve ever wondered how a simple product reel gets that polished, cinematic feel, or how creators manage to sync every movement to music, this breakdown might help you understand the whole process. And who knows—maybe it’ll make your next shoot smoother too.
Understanding the Product Before Shooting
When we shoot a product like an organizer bag, the first step isn’t the camera—it’s understanding what the product wants to say visually. An organizer bag isn’t flashy like jewelry or colorful like food photography. It’s about structure, compartments, premium feel, and practicality.
Before any setup, we examined the bag, noted its shape, fabric texture, and the small details that needed a little spotlight. In Cinematic Video Production, identifying the personality of a product helps guide the entire visual style.
Our founder at The Vintage Shutter Films always says: “If you don’t understand the product, you won’t understand the shot.”
And that became the foundation for every step of this reel.
BTS: Building the Setup From Scratch
The BTS portion of the video wasn’t staged—we filmed things exactly as they were happening.
1. The Background & Surface
To keep the organizer bag the hero of the frame, we used:
- Minimal background
- Neutral matte surface (reduces reflections)
This is a standard in commercial product video production, especially when shooting lifestyle-based utility products.
2. The Lighting Setup
To avoid unwanted hotspots, we used a diffuser, which helped soften the light falling on the bag. This gave the fabric a smooth, expensive look—something that’s essential in high-quality video production services.
Our key light was placed slightly overhead, and we added a gentle fill from the opposite side. One of the wide-frame BTS shots included this entire lighting setup, showing exactly how we balanced shadows without killing the depth.
3. Camera Positioning
We used a mixture of close-ups and wide shots, but the camera stayed mostly at product height.
A low angle made the bag look more premium and well-defined.
We also captured some slow movement shots to keep the final reel dynamic without overdoing transitions.
Capturing the Main Visuals
Once the setup was locked, we began shooting multiple angles:
- Wide shot of the organizer as the base frame
- Close-up of zippers, pockets, and stitching
- Hand interactions for lifestyle appeal
- Feature highlights like compartments opening
- Texture shots to show quality
Each one was captured with the final music in mind. Since the reel was going to sync with a trending audio track, I was already thinking about where the beat drops could match with zipper pulls, bag openings, and quick cuts.
This is where the real magic of social media video production comes in—understanding that visuals and audio must feel like one seamless moment.
Editing the Reel: Where the Story Comes Together
Most people think editing is just about cutting, but honestly, it’s where the story is shaped.
I edited the video in Adobe Premiere Pro, but you can use any software. The workflow was simple but effective.
1. Importing the BTS + Main Footage
Everything was imported into a single folder so the timeline stayed clean.
Organizing your media is a small act, but if you offer video editing services, you know how big of a difference it makes.
2. Syncing to the Music
This is the most fun part.
- First, mapped beats on the timeline
- Placed BTS shots at the start for context
- Placed hero shots on the main beats
- Timed zipper pulls with micro beats
- Matched transitions with audio pops
This step gives reels that “smooth and intentional” feeling.
3. Color Grading
We added:
- Warm moody tone
- Soft highlights
- Mild contrast
- Clean whites
- Subtle grain
Good grading elevates a reel to cinematic product video quality.
4. Final Touches
- Sharpened details
- Cleaned shadows
- Exported at a high bitrate (Instagram compresses!)
This ensures the visuals stay crisp even after upload.
The Final Reveal
The reel ends with the final product photo, which we edited right after the video.
Seeing everything come together—from messy BTS clips to smooth cinematic visuals—makes you appreciate how much work goes into even a 10–12 second reel.
If you want to check out more of our work, you can always visit
www.tvsfilms.in
Pro Tips for Smoother Product Shoots
- ✔ Lock your frame early — if the base frame is weak, nothing else will save it.
- ✔ Always diffuse your key light — soft light = premium feel.
- ✔ Shoot extra BTS — storytelling drives engagement.
- ✔ Sync movements to the beat while shooting — your edit becomes faster.
- ✔ Capture a final hero photo — helps with thumbnails, covers, and end shots.