Why Behind-the-Scenes Matters in Food Photography
Scroll through Instagram or Pinterest, and you’ll see food photos that look straight out of a five-star restaurant. Perfect lighting, balanced shadows, textures that make you hungry. But the truth? None of it is accidental. Behind every “effortless” food photo, there’s a whole process: trial and error with lights, camera adjustments, testing frames, and fixing reflections that only the photographer seems to notice.
That’s exactly why I decided to film a BTS-to-final food photography video for my social handle. The goal wasn’t just to show the final glossy image but to give people a glimpse of the messy, thoughtful process it takes to get there.
This shoot had everything:
- The Vintage Shutter Films founder himself getting hands-on with the camera.
- A diffuser saving us from distracting light spots.
- Multiple shots (wide, close, and experimental angles).
- And finally — two polished food photographs that made all the effort worth it.
The Setup: Building the Foundation
We started with a simple food setup — a dish styled neatly on the table, surrounded by props to bring character. But food photography isn’t just about the dish itself; it’s about everything that frames it.
1. Framing with a Wide Shot
The first thing I did was capture a wide frame of the entire setup. This included the food, the table, the lights, and even the camera on its tripod. Wide shots work like establishing scenes in a film: they set the stage and show the audience the environment before diving into the details.
The founder of The Vintage Shutter Films was right there with me, checking the angles and suggesting tweaks. We wanted to show people the real setup before they saw the polished final image.
2. Fixing the Light: The Diffuser Moment
Lighting is everything in food photography. The wrong light makes food look flat, oily, or just unappetizing. At one point, we noticed a hot spot of light hitting the plate — way too harsh for the soft, appetizing mood we wanted.
That’s when we brought out the diffuser. By placing it between the light source and the food, the harsh glare softened instantly. Shadows became smoother, highlights turned subtle, and the whole scene felt more cinematic.
It’s a small adjustment, but honestly, this one step transformed the shot. Without the diffuser, the photo screamed “overhead lamp.” With it, the food looked ready for a magazine spread.
3. The Multiple Shots: Wide, Close, and Extreme
Once the lighting was sorted, we experimented with different shot types. Each shot gave a unique perspective, and together they told the full story of the dish.
4. Wide Shot
This was the “everything included” frame. It wasn’t about detail — it was about mood and atmosphere. Props like cutlery, napkins, and background items gave context to the food.
5. Close-Up Shot
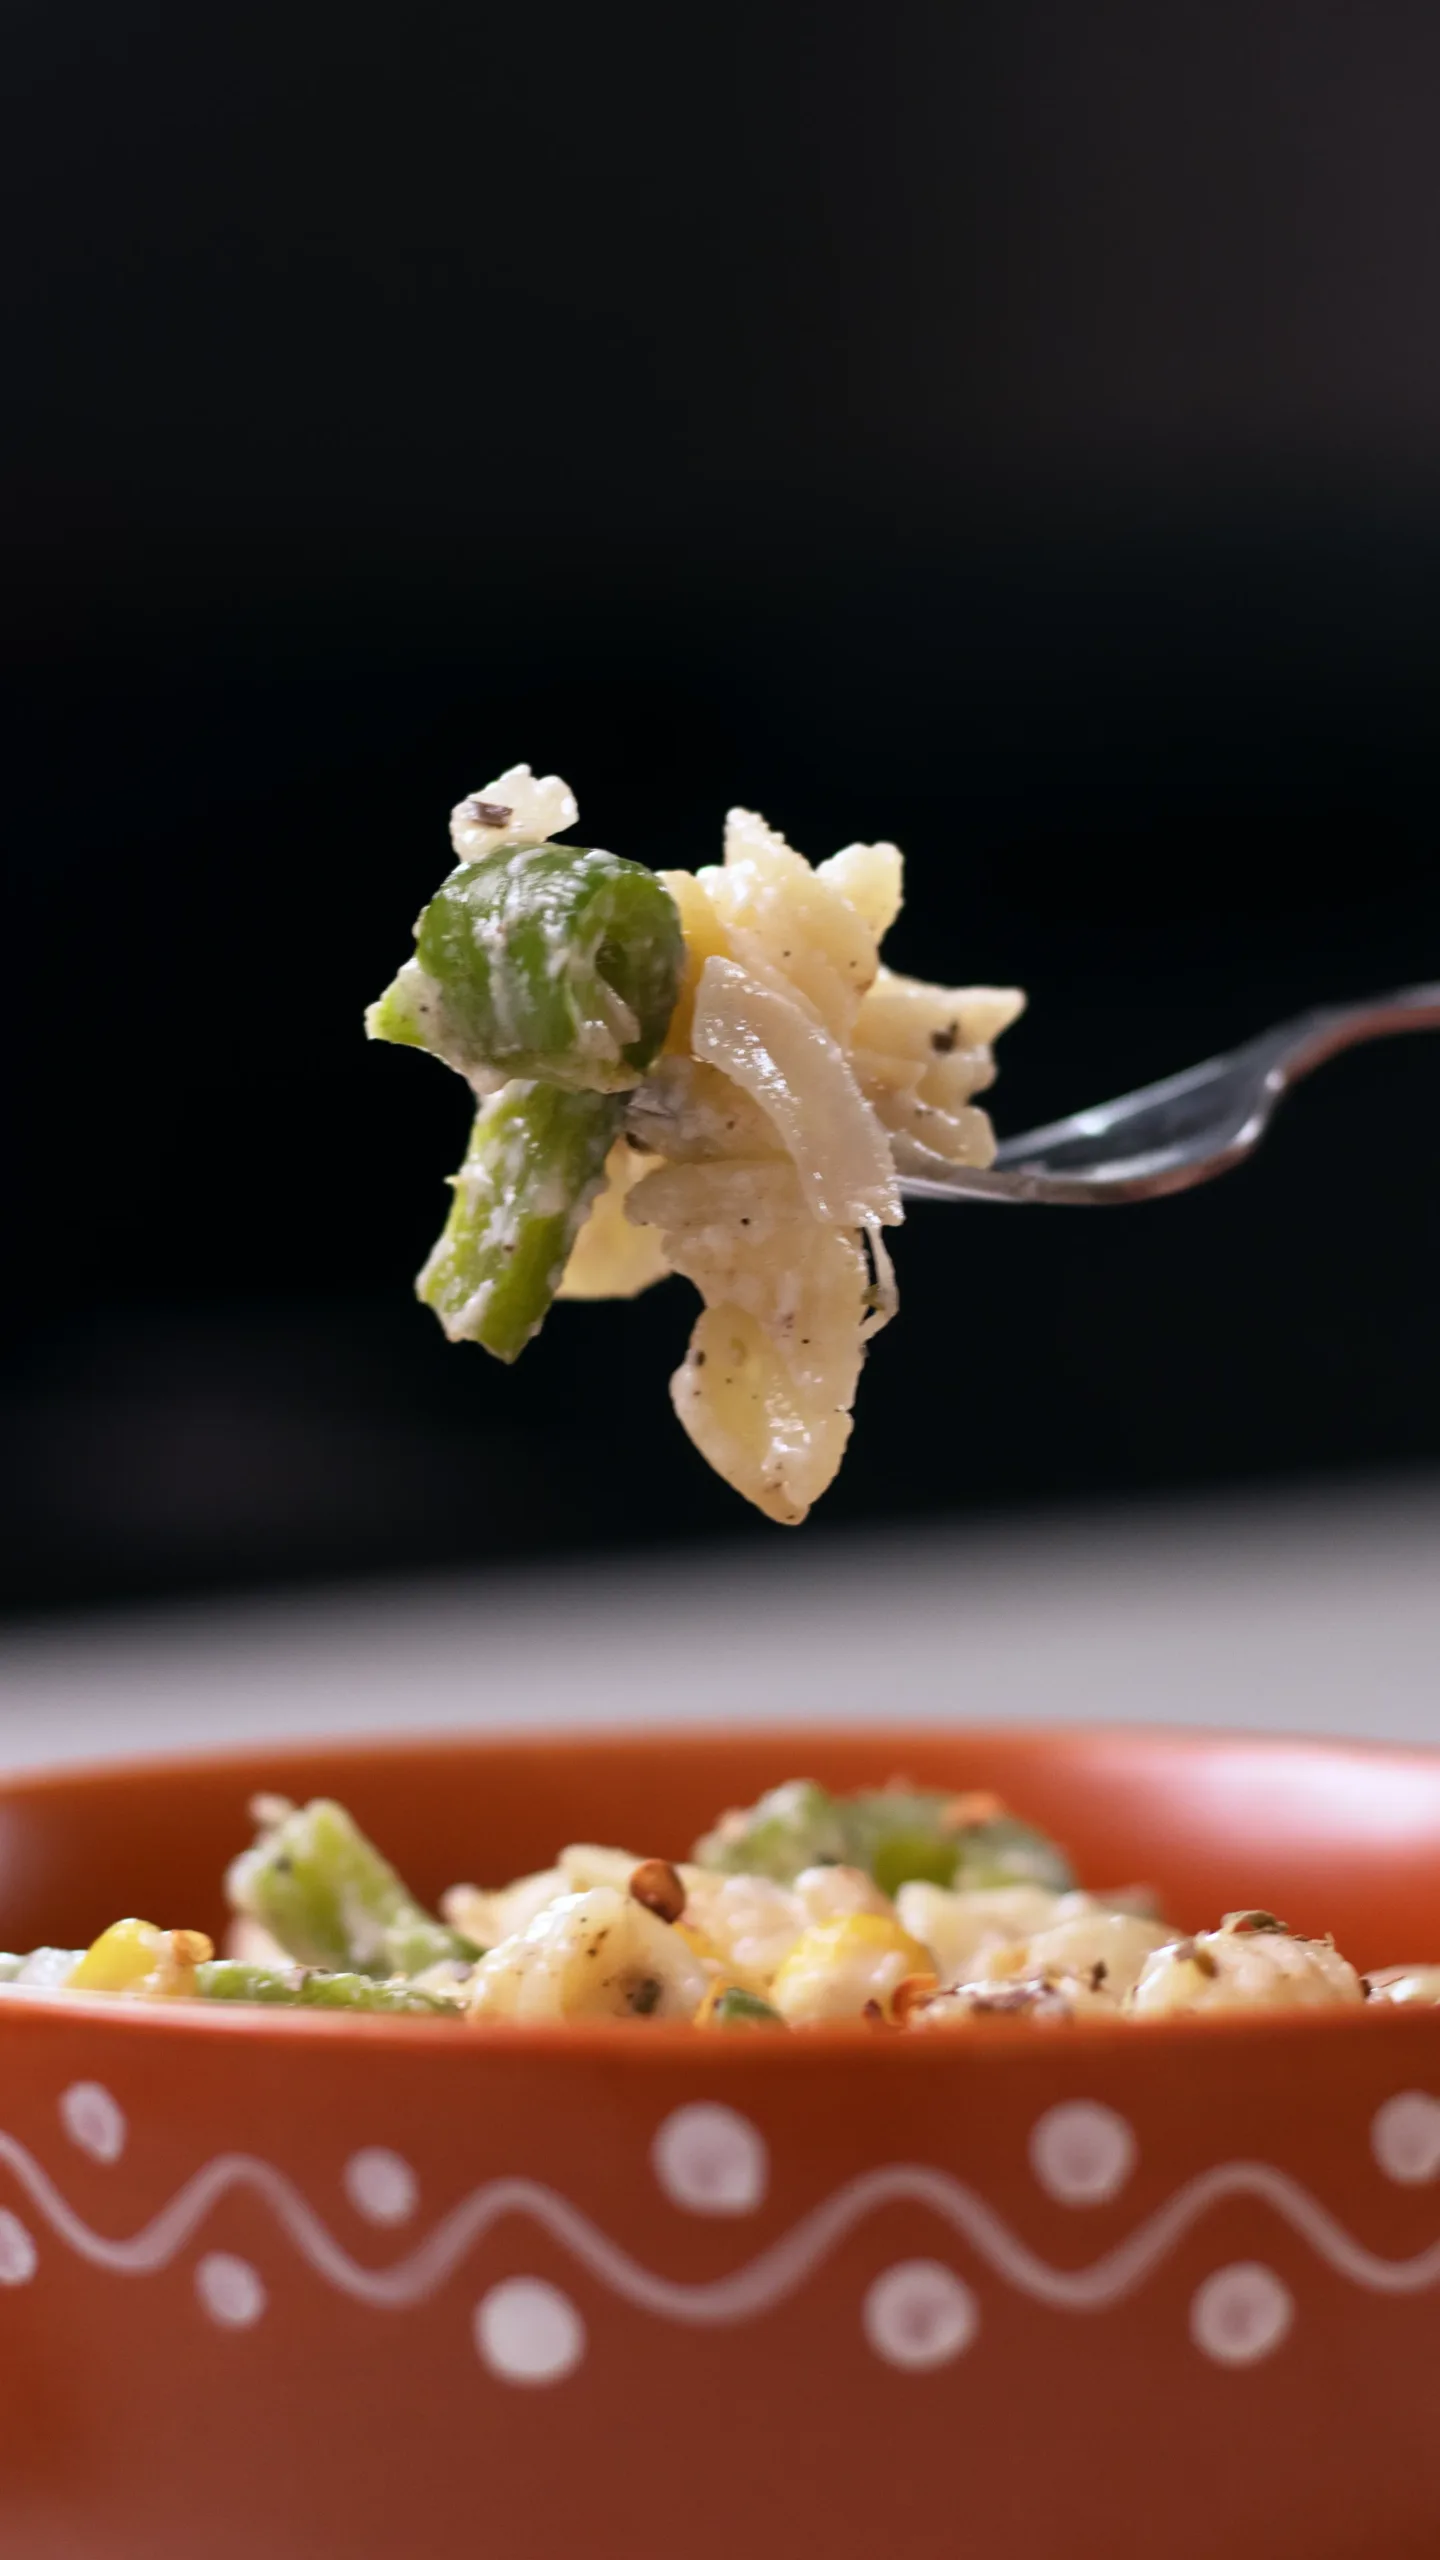
Next, I moved in for a close-up. Now, the food itself became the star. The textures popped — think of the shine on a sauce, the crisp edges of bread, or the steam rising faintly. Close-ups are where food photography feels alive.
6. Extreme Close-Up
Finally, I pushed the camera even closer for an extreme close-up. This shot wasn’t about showing the whole dish; it was about celebrating detail. The crumb of a crust, the glisten of a garnish — things you might miss with the naked eye but that make viewers go, “Wow.”
BTS with the Founder: The Human Touch
What made this shoot special wasn’t just the food or the camera — it was the presence of the The Vintage Shutter Films founder. Having him in the BTS video gave the audience a relatable face behind the process.
It wasn’t a polished “invisible photographer” kind of video. You actually saw him adjusting the tripod, bending over the dish, moving the diffuser around. Those moments matter because they remind viewers that photography is human, imperfect, and often collaborative.
In fact, some of my favorite shots from the BTS weren’t of the food at all — they were of him working. That human presence brought warmth to the technical process.
The Final Photos: Where It All Comes Together
After all the trial and error — moving lights, testing frames, repositioning props — we arrived at two final photos that felt exactly right.
- One wide composition with the food in context, framed beautifully with the props.
- One tighter shot that captured the textures and made the dish almost jump off the screen.
Looking at the final results side by side with the BTS shots, the difference is striking. The wide frames showed the “messy” creative process, while the finals looked clean, intentional, and professional.
And that’s the beauty of documenting the journey: you get to see not just the destination but the steps it took to get there.
Lessons from the Shoot
If there’s one thing this BTS-to-final project taught me, it’s that photography is equal parts planning and problem-solving.
- The diffuser reminded us that small tools can make huge differences.
- Shooting in wide, close, and extreme close-ups showed the importance of perspective.
- Including the founder in the BTS added authenticity.
- And finally, patience and experimentation led us to the kind of images that make viewers stop scrolling.
Food photography isn’t about a perfect setup from the start. It’s about observing, adjusting, and refining until the dish looks as good on camera as it does on the plate.
Final Thoughts
Behind-the-scenes content is more than just “bonus footage.” It’s a reminder that creativity is messy, collaborative, and full of small decisions that shape the final outcome.
By showing my audience the journey from BTS to final food photography, I wasn’t just teaching them about lighting or shot types — I was showing them that every polished image has a human story behind it.
So the next time you see a food photo that makes your stomach growl, remember: there’s probably a diffuser, a tired photographer, and at least one wide shot behind it.