
How Adjusting Audio Waveforms in Premiere Pro Can Instantly Improve Your Editing Workflow
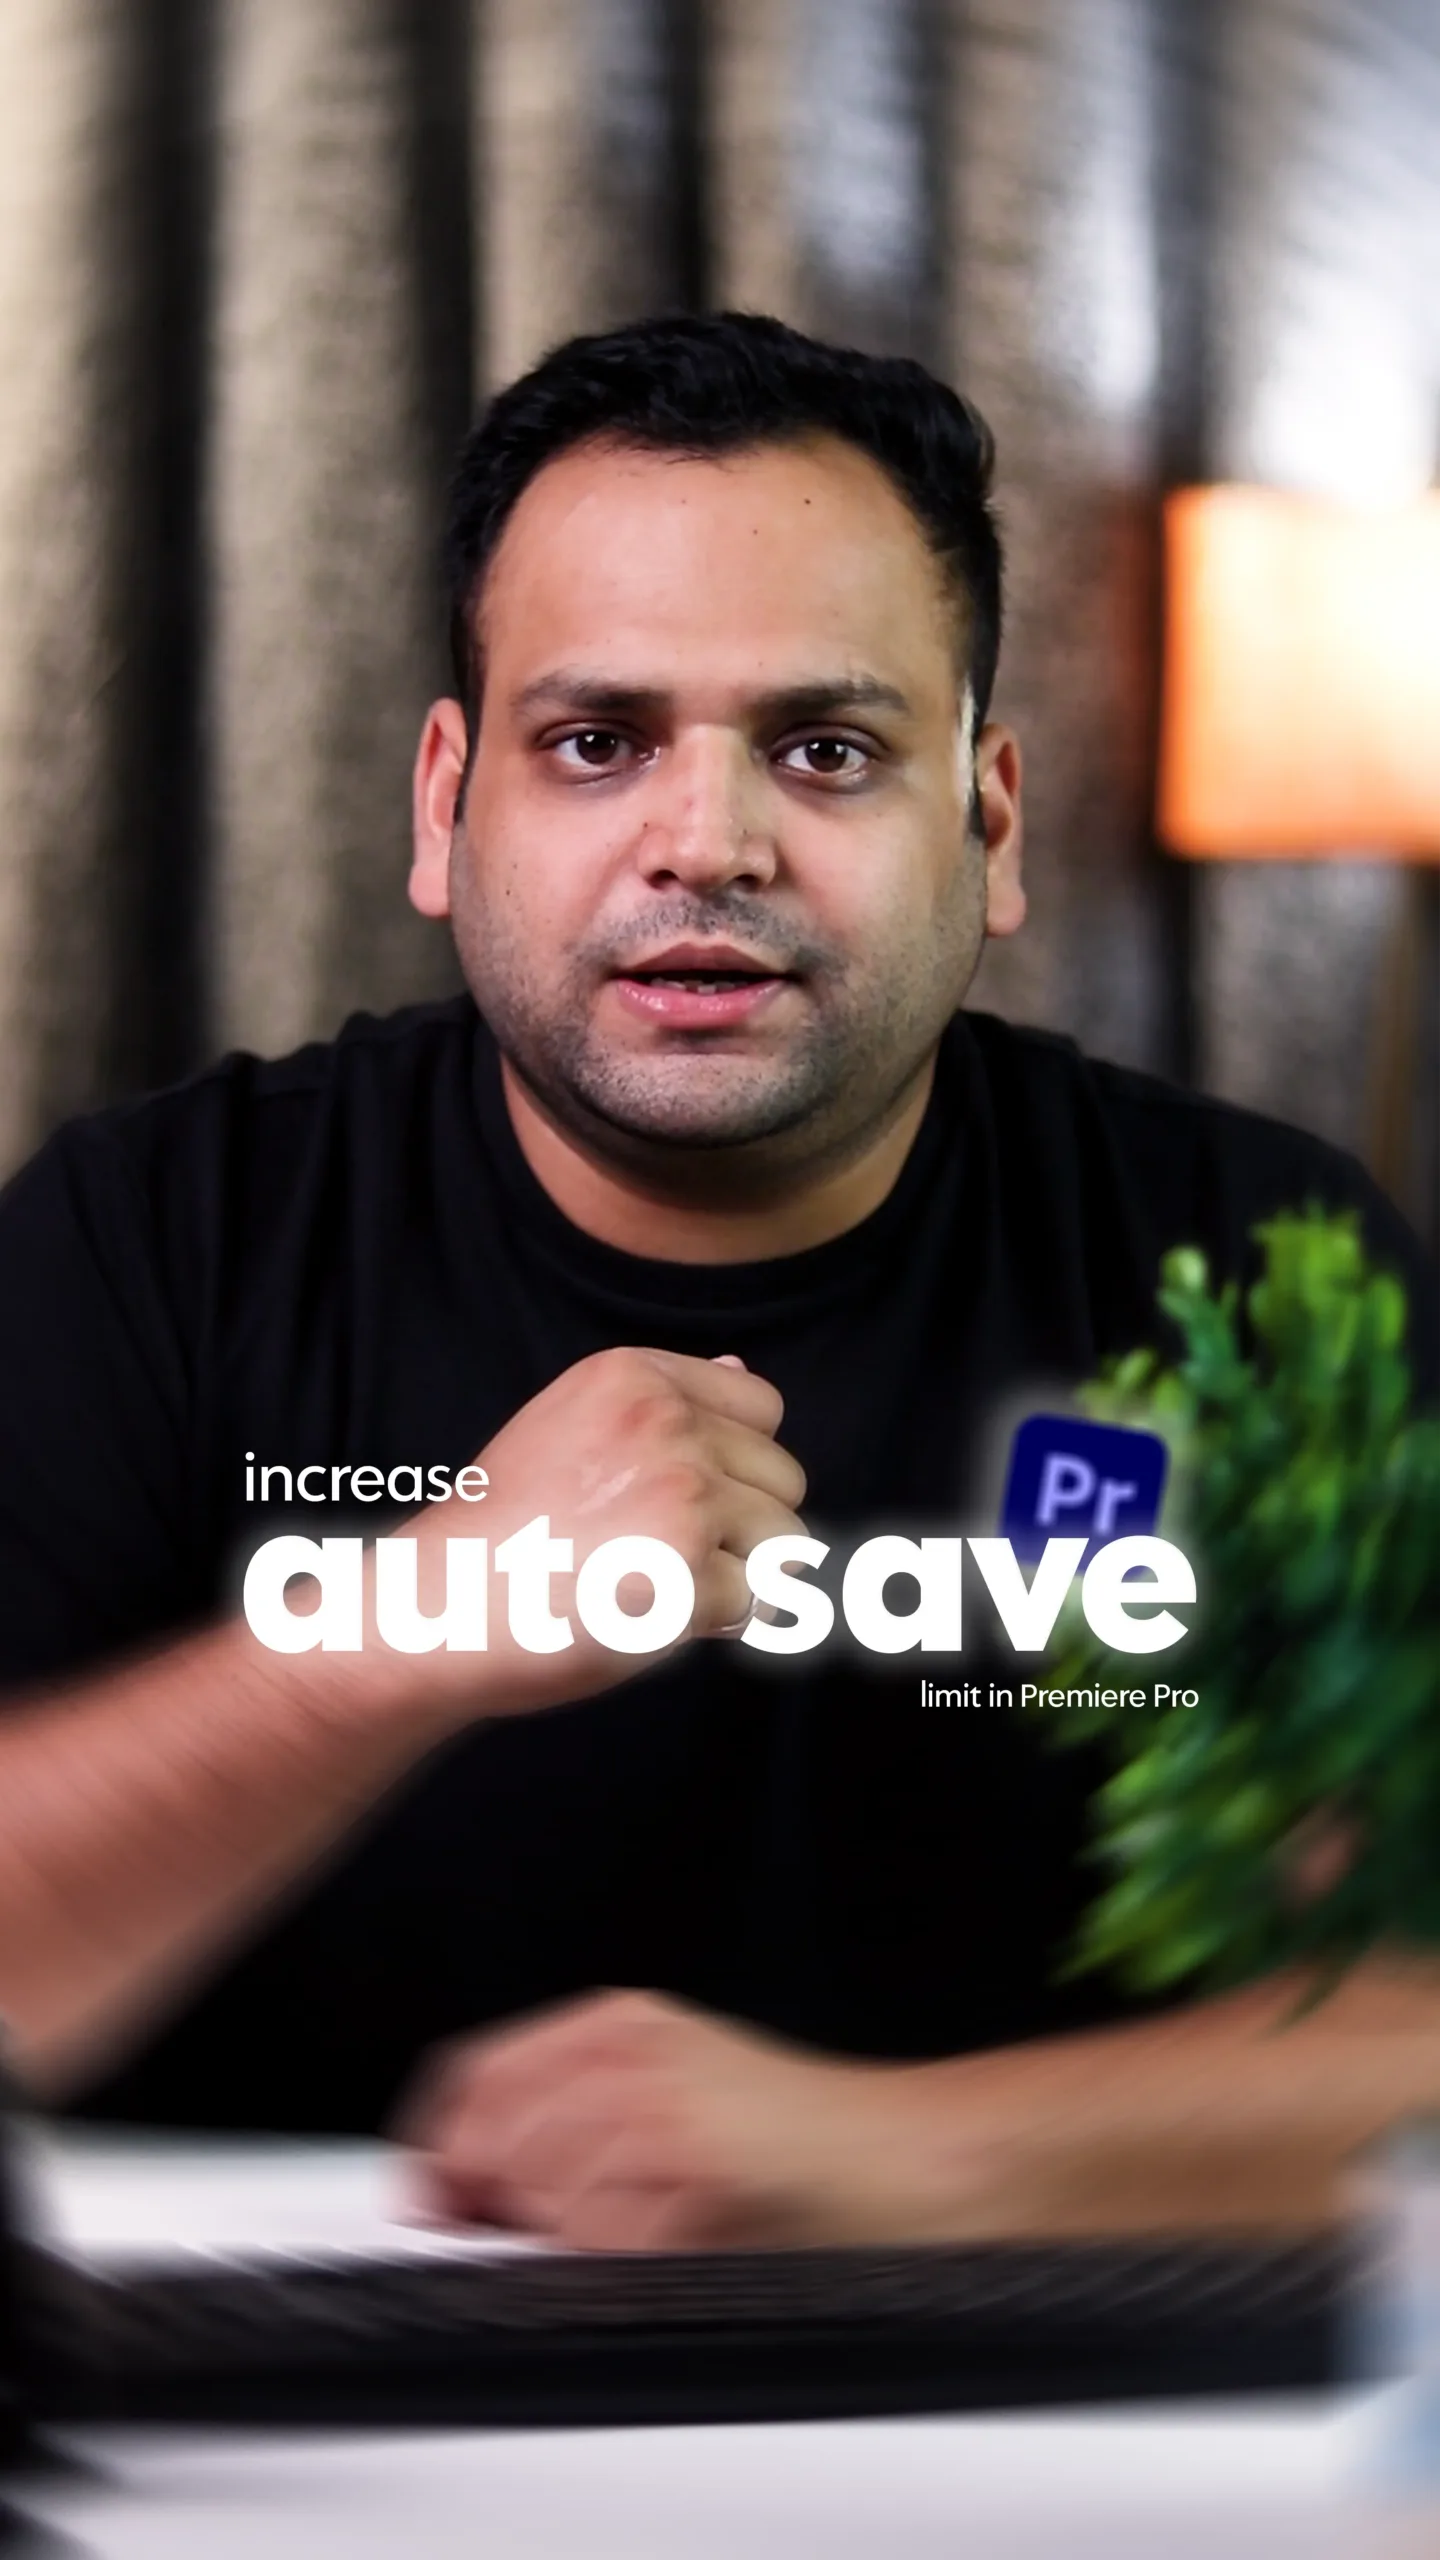
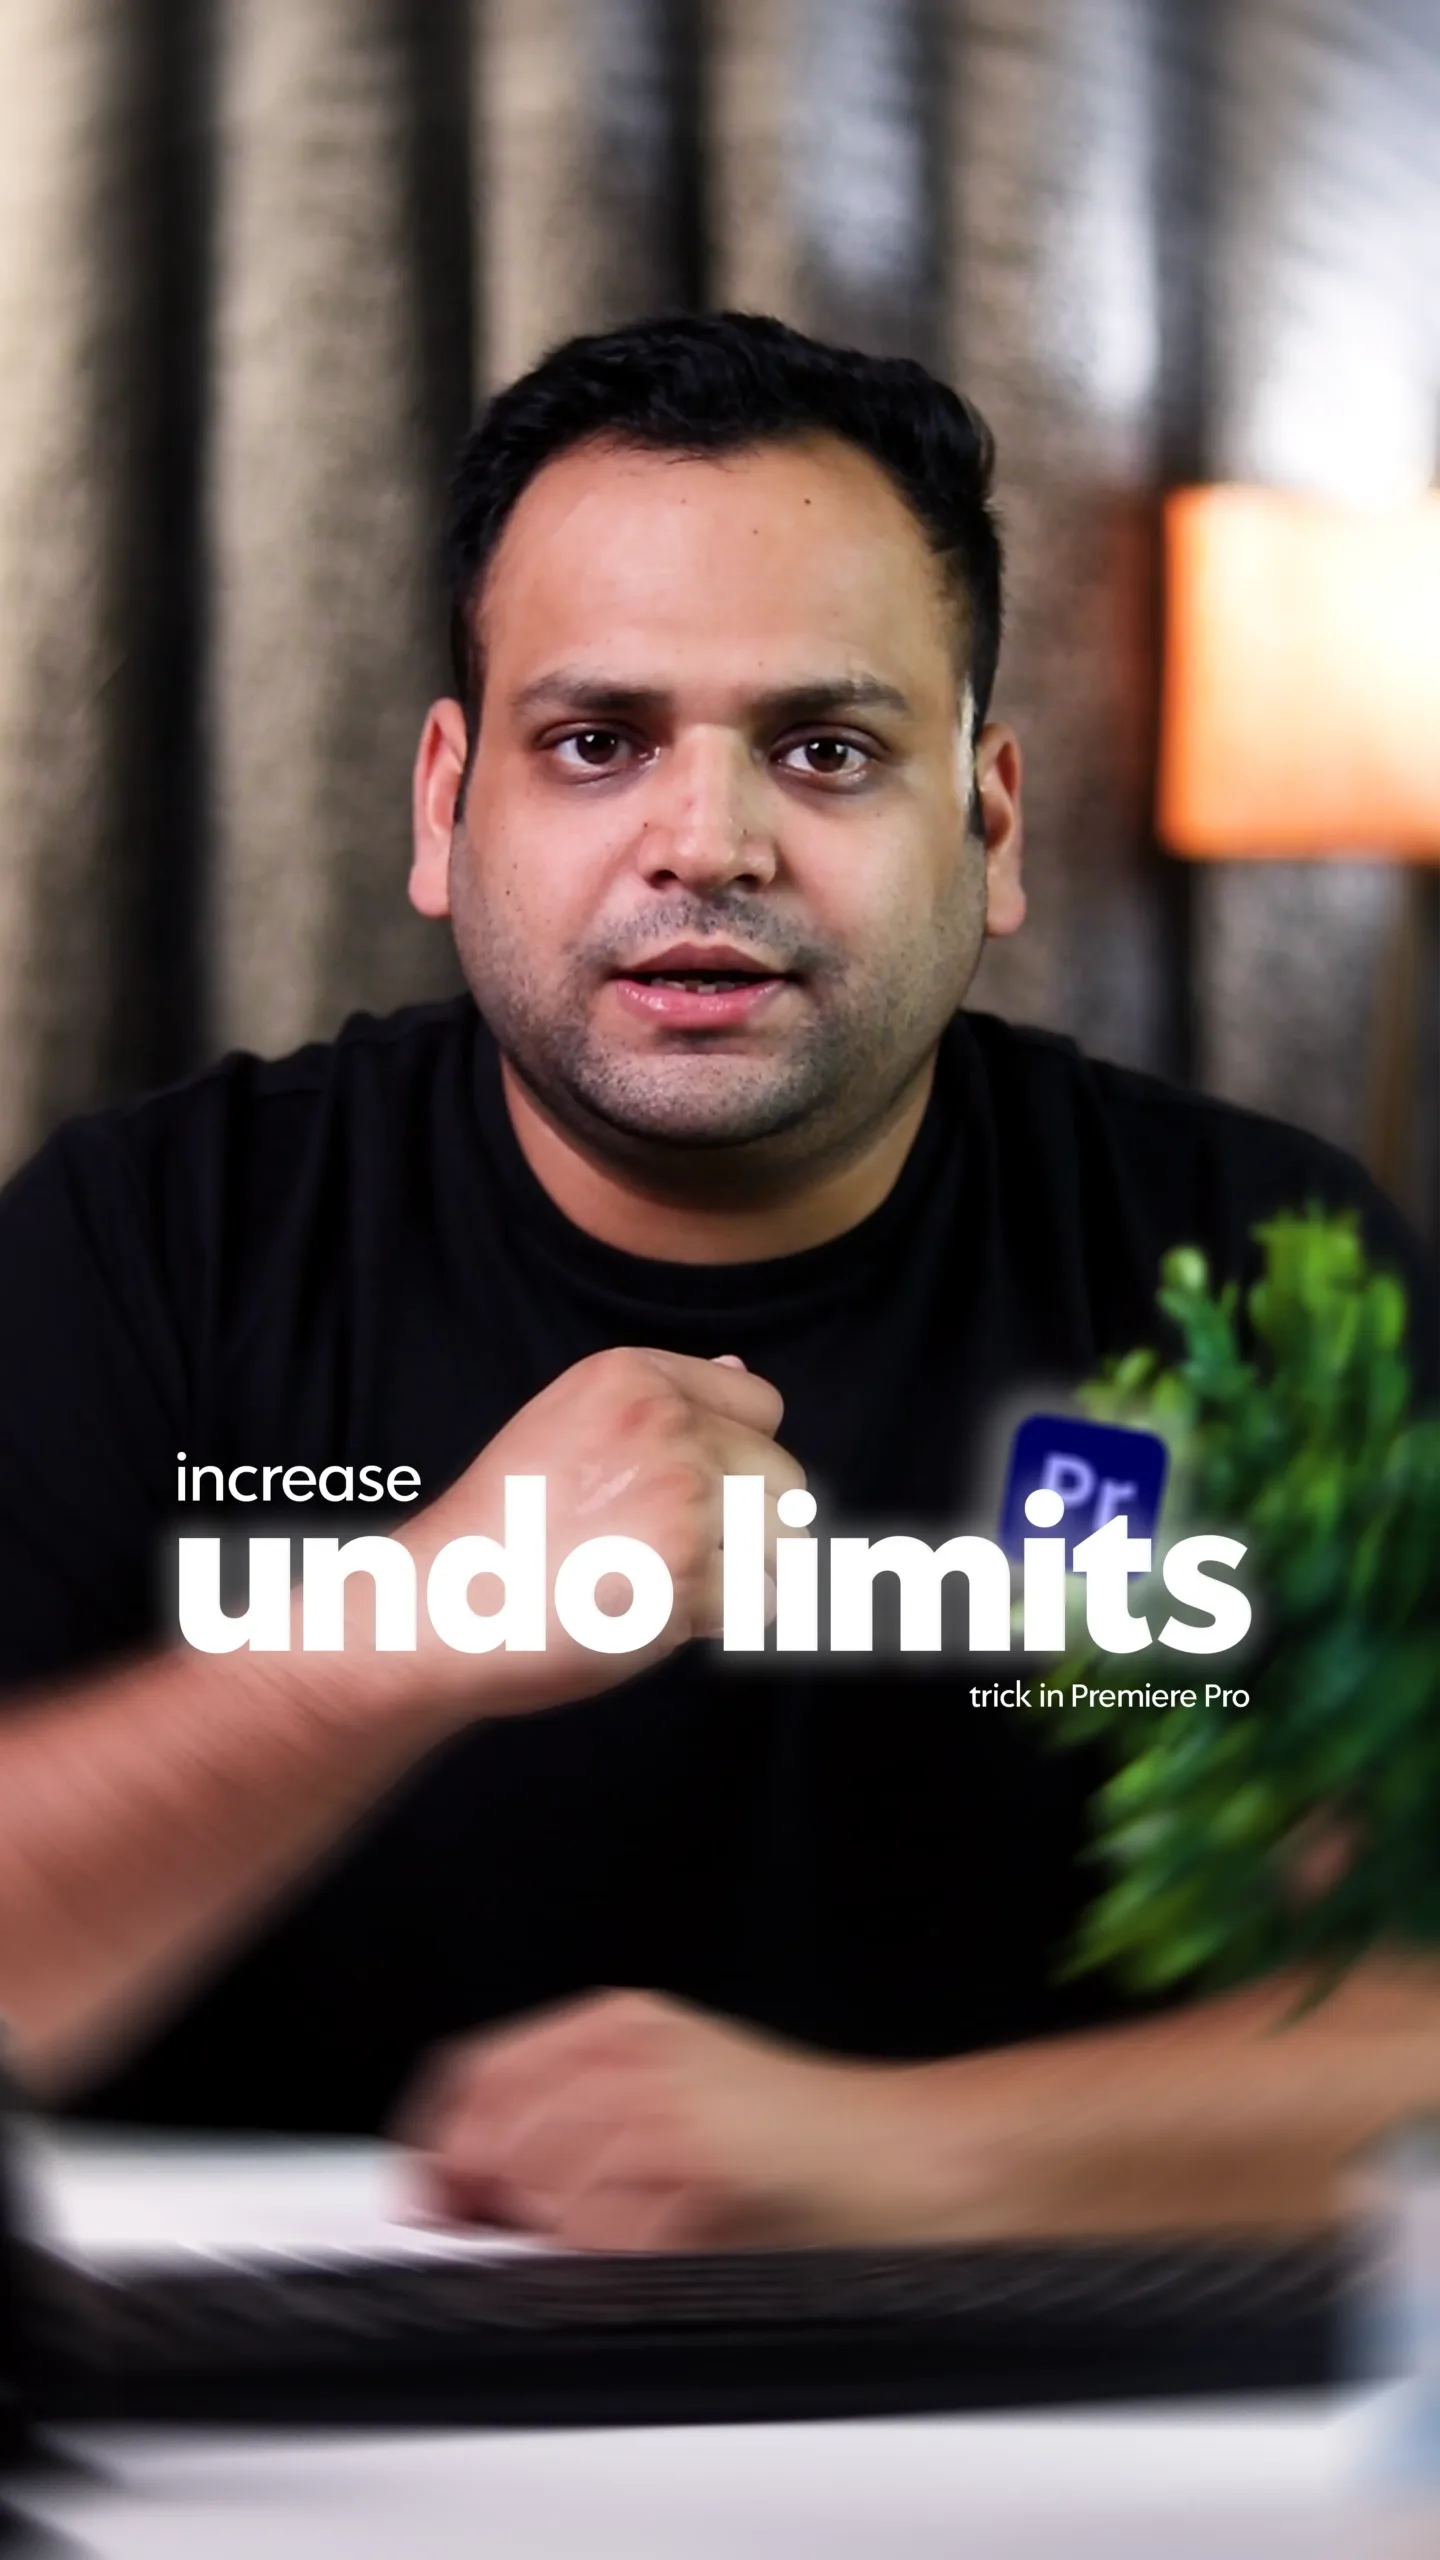
If you edit videos regularly, you already know this feeling: you’re zooming into the timeline, trying to match cuts to music or dialogue, and the audio waveforms are either too small to read or so large that they clutter the screen. That tiny frustration is exactly what pushed me to create a tutorial video on how to adjust audio waveforms in Premiere Pro.
It may sound like a small setting, but once you understand it properly, it changes how fast and confidently you edit. At The Vintage Shutter Films, where we handle everything from product video production services to fast-paced social media video production, clear audio waveforms are not optional — they’re essential.
This blog breaks down why audio waveforms matter, how to customize them, and how professionals use them in real editing workflows.
Why Audio Waveforms Matter More Than You Think
Audio waveforms aren’t just visual noise on your timeline. They’re information. They tell you:
- Where beats hit
- Where dialogue starts and ends
- Where silence exists
- Where transitions should land
If you’re offering video editing services or social media video editing services, your speed often depends on how quickly you can read your timeline. Editors working on reels, ads, or cinematic sequences rely heavily on waveform visibility to sync visuals cleanly.
In cinematic video production, waveforms help editors shape emotion. In reels and shorts, they help hit beats perfectly. Either way, unclear waveforms slow everything down.
What I Covered in the Tutorial Video
In the tutorial I shared on my social handle, I kept things practical and real. No over-complicated theory — just everyday editing problems and fixes.
I explained:
- How to enable audio waveforms if they’re hidden
- How to increase or reduce waveform size
- How zoom levels affect waveform visibility
- Why waveform clarity matters for beat syncing
- How I personally set them for different projects
I also showed how these settings help when editing brand reels, product videos, and short-form content — exactly the kind of work we handle daily at The Vintage Shutter Films.
How to Adjust Audio Waveforms in Premiere Pro
Here’s the simple, editor-friendly way to do it:
- Open Adobe Premiere Pro
- Go to Timeline panel
- Click the Timeline wrench (Timeline Display Settings)
- Enable Show Audio Waveform
- Zoom in or out using + and –
- Adjust track height by dragging the track edges
That’s it. No plugins, no advanced settings — just understanding how Premiere responds to zoom and track height.
How Editors Use Audio Waveforms in Real Projects
1. Product Video Production
When working on product video production services, waveforms help editors:
- Sync product movements with music
- Match transitions to beats
Identify sound accents
Clear waveforms make these decisions faster and more precise.
2. Social Media & Reels Editing
For reels and shorts editing services, waveforms are critical. Short-form content depends heavily on rhythm. One frame off, and the reel feels “wrong.”
Being able to clearly see beats helps editors cut confidently without scrubbing audio repeatedly.
3. Cinematic Video Production
In cinematic video production, waveforms guide pacing. Editors use them to:
- Shape emotional pauses
- Align dialogue with visuals
- Control dramatic silence
Good waveform visibility helps editors feel the timing, not just hear it.
Why Audio Waveform Settings Affect Editing Speed
Here’s something many editors overlook:
If your waveforms are hard to read, you’ll subconsciously slow down.
You’ll:
- Play clips repeatedly
- Scrub audio manually
- Second-guess cuts
That costs time — and time matters when delivering professional video production services. At The Vintage Shutter Films, we optimize even small settings like waveforms because small improvements stack up into faster workflows.
Waveforms & Editing Confidence
Clear waveforms build confidence. You trust your cuts more. You experiment more. And experimentation leads to better creative results.Clients hiring social media video production teams don’t see your timeline — but they feel smooth transitions, clean rhythm, and sharp pacing.Those qualities often start with something as simple as waveform clarity.
Pro Tips to Work Faster Using Audio Waveforms
Here are some practical tips we use internally:
1. Increase Track Height When Syncing : Don’t be afraid to temporarily increase audio track height while syncing beats.
2. Zoom In for Precision, Out for Flow : Zoom in for exact cuts, zoom out to feel overall rhythm.
3. Color-Code Audio Tracks : Music, dialogue, effects — color coding helps visually separate waveforms.
4. Cut on Peaks, Not Guesswork : Waveform peaks often align with beats — trust them.
5. Don’t Over-Zoom All the Time : Too much zoom kills flow. Adjust only when needed.
Why We Share Editing Knowledge at The Vintage Shutter Films
At The Vintage Shutter Films , we don’t just provide video production services — we share the knowledge behind professional workflows. Whether it’s tutorials on editing settings, BTS videos, or workflow breakdowns, the goal is always the same: help creators and brands work smarter.
From social media video editing services to cinematic brand films, strong editing habits create better visuals — and audio waveforms are one of those habits most people underestimate.
Final Thoughts
Audio waveforms aren’t just visual elements on a timeline. They’re tools. Once you learn how to adjust and read them properly, editing becomes faster, cleaner, and more enjoyable. If this blog helped you understand waveforms better, try tweaking your settings in your next edit. You’ll notice the difference almost immediately.