
How Adjusting Undo Limits in Premiere Pro Can Transform Your Editing Workflow
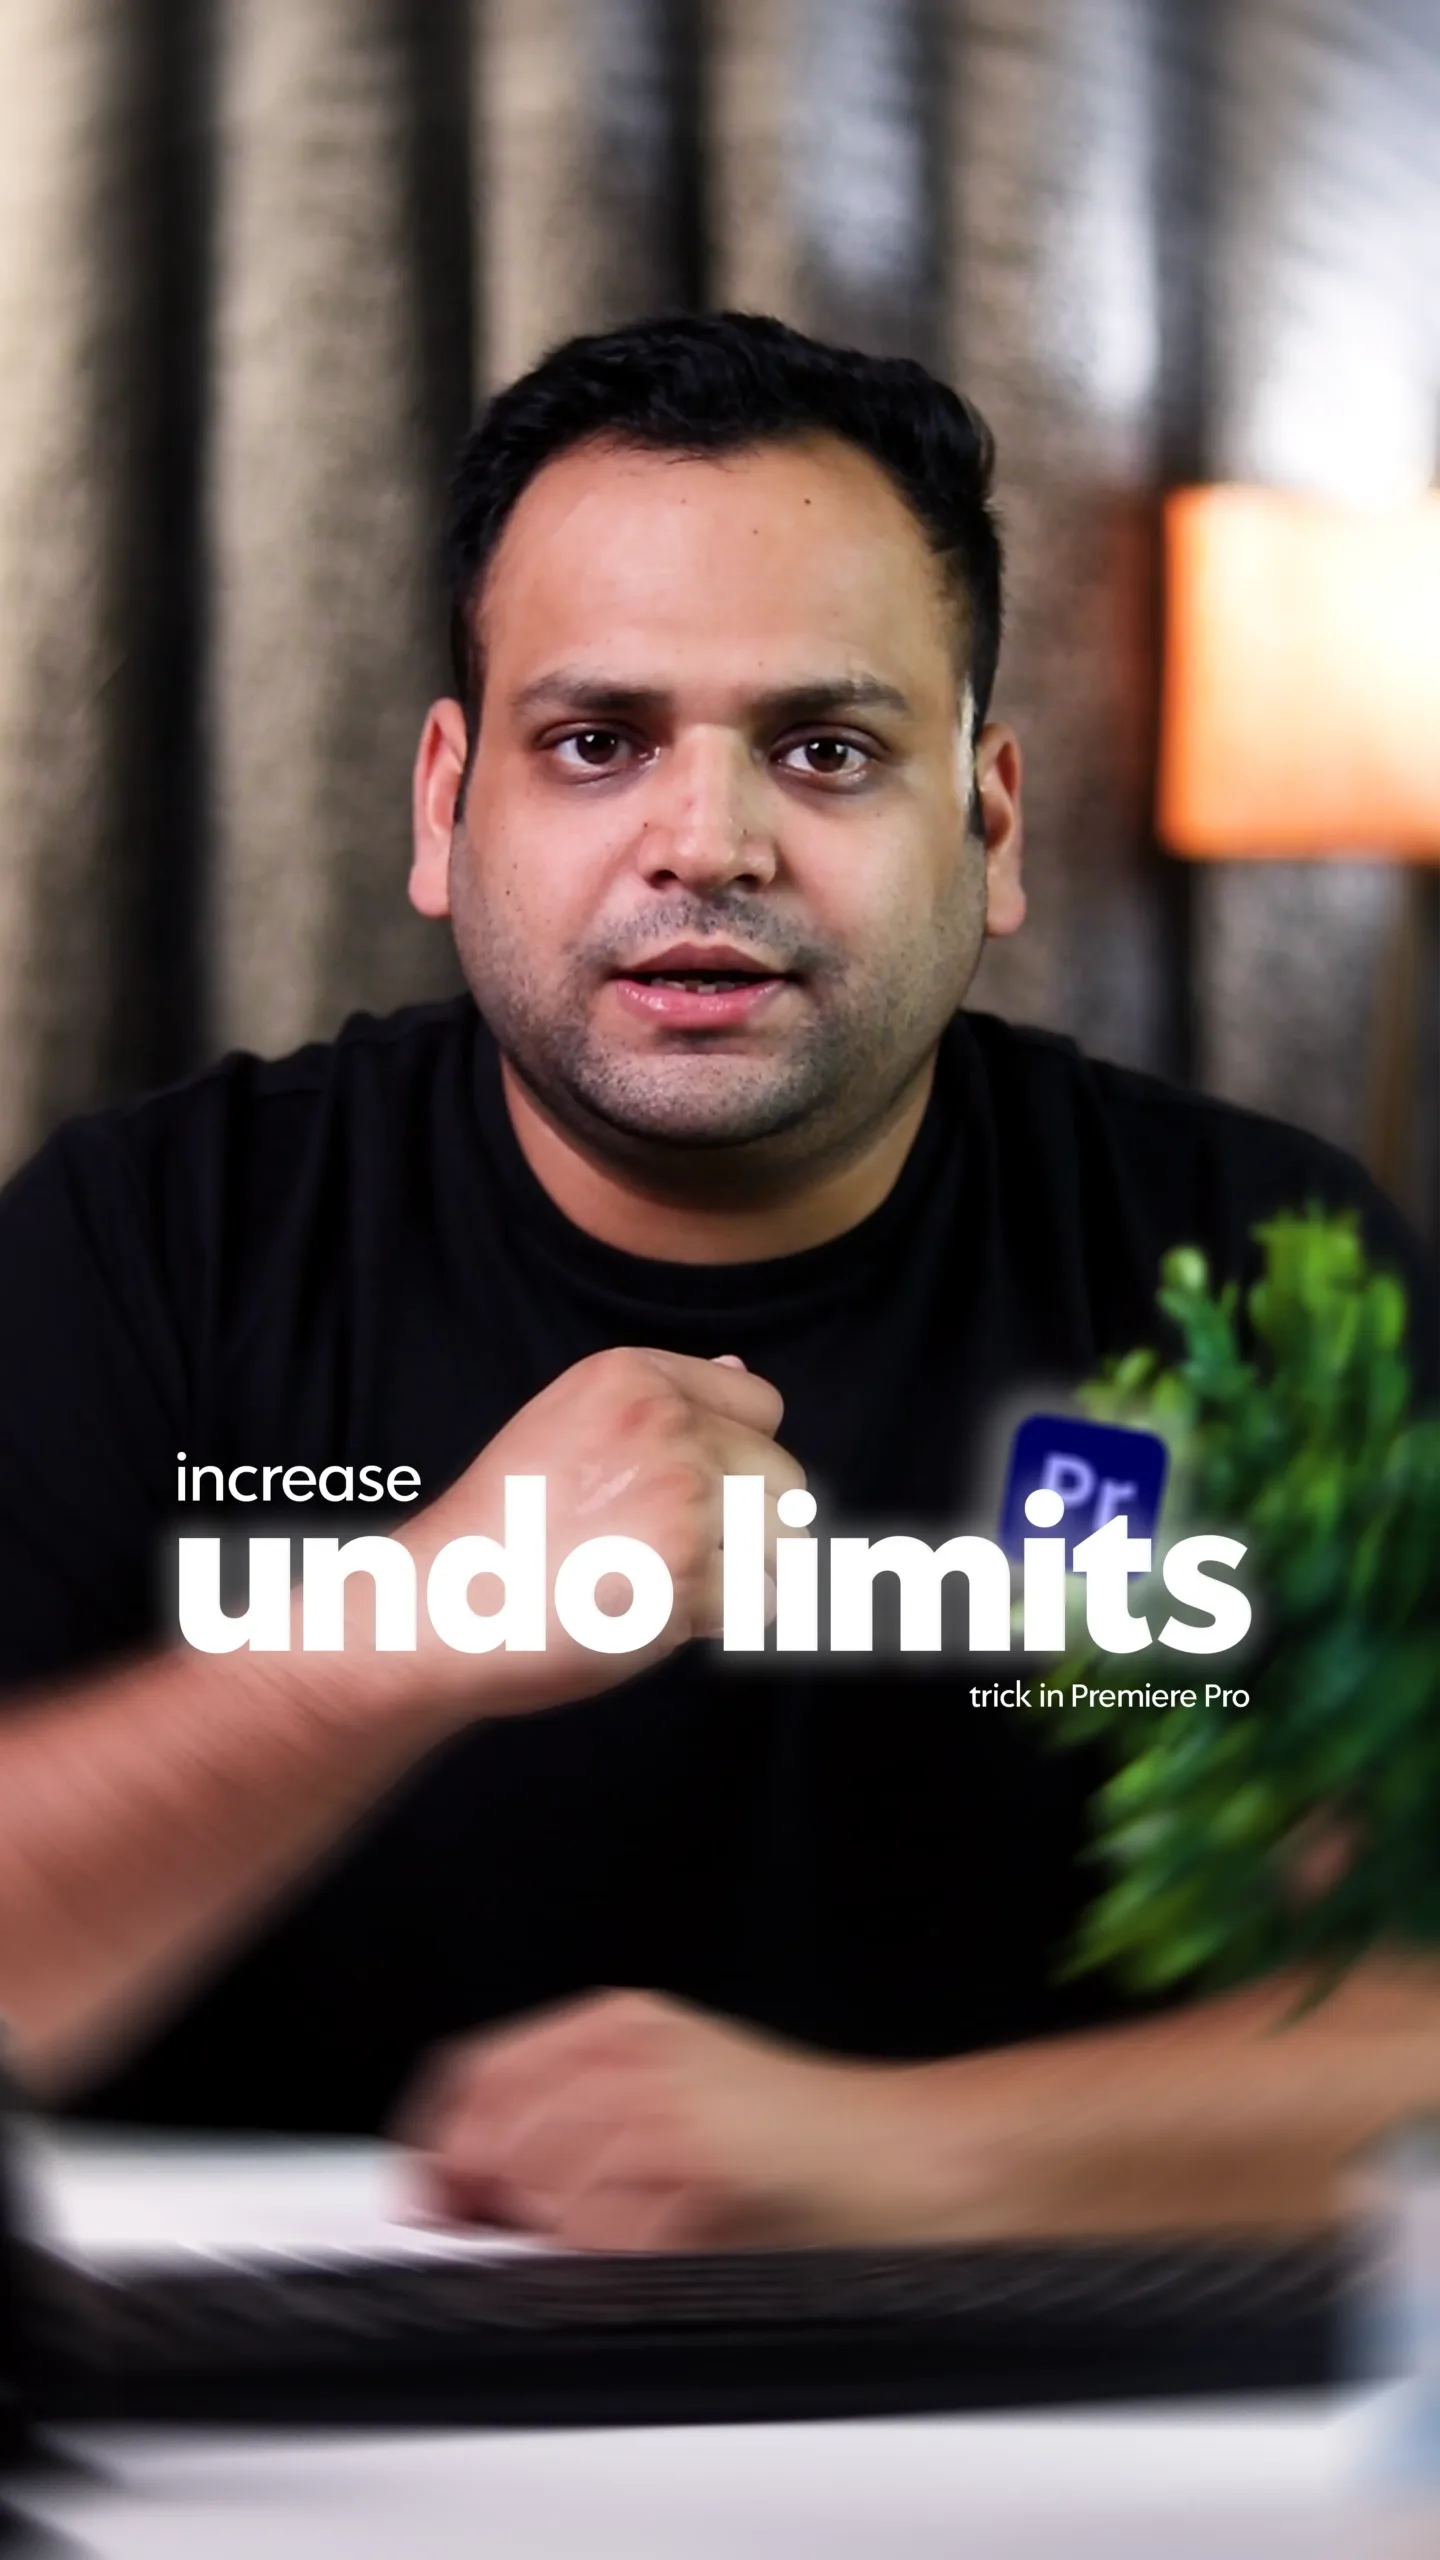
If you’ve ever been deep into an edit and suddenly hit Ctrl + Z five times only to realize Premiere Pro stopped undoing… you already know how frustrating that moment can be. I’ve been there more times than I can count. That frustration is actually what inspired me to create a tutorial video explaining how to adjust undo limits in Premiere Pro, and this blog is an extension of that same idea—helping editors work smarter, not harder.
At The Vintage Shutter Films, editing isn’t just part of the process—it is the process. Whether we’re delivering product video production services, working on social media video production, or handling fast-paced reels and shorts editing services, small workflow tweaks can save hours over time. Undo settings might sound like a tiny detail, but once you understand them, they genuinely change how smooth your editing feels.
Why Undo Settings Matter More Than You Think
When you’re editing cinematic content or fast social media reels, you’re constantly experimenting—cutting clips, moving frames, adjusting colors, adding effects, removing them again. Every one of those actions relies on Premiere Pro’s undo memory.
By default, Premiere Pro limits how many actions it remembers. Once you cross that limit, older actions are gone forever. For casual editors, that might be fine. But for professionals offering video editing services or social media video editing services, that limitation can slow things down.
During high-pressure projects—especially commercial or cinematic video production—you don’t want to fear experimenting. You want freedom to try ideas without worrying that you can’t undo them later.
Inside the Tutorial Video: What I Showed
In the tutorial I posted on my social handle, I kept it practical. No theory-heavy talk—just real usage.
I walked viewers through:
- Where undo limits live inside Premiere Pro
- How to increase or decrease them based on system performance
- Why more undo steps isn’t always better
- How this setting impacts editing speed
I also explained how different types of editors need different undo limits. Someone editing YouTube vlogs doesn’t work the same way as someone handling product video production services or brand reels.
How to Adjust Undo Limits in Premiere Pro (Simple Explanation)
Here’s a quick breakdown for those who prefer reading:
- Open Adobe Premiere Pro
- Go to Edit → Preferences → General (Windows)
or Premiere Pro → Preferences → General (Mac) - Look for “Undo Levels”
- Adjust the number based on your workflow
- Click OK and restart Premiere Pro if needed
That’s it. Simple setting, big difference.
How Undo Limits Affect Different Editing Workflows
1. Product & Commercial Editing
When working on product video production services, editors often:
- Duplicate timelines
- Try multiple transitions
- Test lighting corrections
- Experiment with pacing
Higher undo limits help here because experimentation is constant.
2. Social Media & Reels Editing
For reels and shorts editing services, speed matters more than perfection. You’re cutting fast, syncing to music, trimming frames rapidly. A medium undo limit keeps Premiere responsive without eating too much memory.
3. Cinematic Projects
In cinematic video production, edits are layered and complex. Undo becomes a safety net. Slightly higher undo limits give editors confidence to try creative ideas without hesitation.
Performance vs Flexibility: Finding the Right Balance
One thing I always mention in my tutorials—and I showed this clearly in the video—is that undo limits aren’t “set and forget.”
Higher undo limits:
✔ More freedom
❌ Slightly higher memory usage
Lower undo limits:
✔ Faster performance on slower systems
❌ Less flexibility
At The Vintage Shutter Films, we adjust undo limits depending on the project. A heavy commercial project? Increase it. A fast social reel batch? Keep it moderate.
This mindset is important for anyone offering video production services professionally.
Why Small Settings Matter in Professional Editing
People often focus on cameras, lenses, presets, and plugins. But real professionals know that workflow efficiency is what separates average editors from reliable ones.
Clients hiring social media video production teams don’t see your undo settings—but they feel the difference when projects are delivered faster, revisions are smoother, and edits feel confident.
Undo limits don’t just save mistakes. They save mental energy.
Pro Tips to Improve Your Editing Workflow
Here are a few practical tips I personally follow:
1. Match Undo Limits to Your RAM
If you’re running 8GB RAM, don’t push undo levels too high. Editors with 16GB+ can afford more freedom.
2. Duplicate Timelines Instead of Over-Undoing
Sometimes it’s faster to duplicate a sequence than rely on undo.
3. Save Versions Manually
Undo doesn’t replace saving versions. Name timelines like Edit_v1, Edit_v2.
4. Restart Premiere for Long Sessions
Undo memory builds up. Restarting clears clutter and improves performance.
5. Learn Keyboard Shortcuts
Speed compounds. Faster hands + smart undo settings = smoother edits.
Why We Share Editing Knowledge at The Vintage Shutter Films
At www.tvsfilms.in, we don’t just provide video production services—we believe in sharing the process behind good editing. Whether it’s tutorials like this or behind-the-scenes breakdowns, the goal is simple: help creators and brands understand what goes into clean, effective visual content.
Undo settings may look like a small checkbox in Premiere Pro, but mastering small details like this builds strong editing habits. And strong habits create better videos—whether you’re editing reels, commercials, or cinematic brand stories.
Final Thought
If adjusting undo limits helps you experiment more freely, then it’s already done its job. Editing should feel creative, not stressful. And sometimes, the best upgrades aren’t plugins—they’re smarter settings.