The Truth Behind a “Perfect Shot”
You’ve probably scrolled through Instagram or Pinterest and thought, “That photo looks flawless — must have been easy to shoot.” Honestly? It’s never that easy.
What you don’t see are the hours of setting up, the awkward lighting tests, the countless times we move a tripod two inches to the left (and then back again), and the experiments that fail before we land on the perfect frame.
That’s exactly what we captured in our recent behind the scenes (BTS) photography video. It wasn’t staged. It wasn’t glamorous. It was real — with the founder of The Vintage Shutter Films himself in the frame, adjusting lights, cameras, and even holding the diffuser when needed.
So in this blog, I’ll take you through the actual process: from building the photography setup, fixing the lighting with a diffuser, capturing multiple shots, and finally comparing it all to the polished results.
Step 1: Setting Up the Photography Space
Every shoot starts with one simple question: “What do we want this photo to feel like?”
That feeling guides everything — from the photography setup to the angles and even the choice of background. For this session, we wanted a clean, professional vibe without it looking overly staged.
Here’s how the setup went:
- First, we placed the camera on a tripod to keep every frame stable.
- We adjusted the background to avoid distractions — no clutter, no unnecessary props.
- Then came the small but critical tweaks: checking reflections, testing the space for light leaks, and making sure our subject was comfortable in front of the camera.
It sounds simple, but honestly, the setup is where half the battle is won. A good photography setup can make post-editing almost effortless, while a sloppy one can ruin the whole flow.
Step 2: The Battle With Lights
If photography is storytelling, then lighting is the pen. Without the right lighting setup, even the best camera can’t save the photo.
In our BTS video, you’ll see us experimenting a lot with lights. At first, the overhead light made harsh shadows. The subject’s face looked uneven, and there were bright spots that felt unnatural.
So, we tried this:
- We placed softbox lights at about 45° angles.
- Adjusted intensity to soften shadows.
- Checked the frame after every move (sometimes 1% brightness makes a big difference).
There’s this funny moment where we thought, “Perfect, this is it!” — but when we checked the screen, the highlights were way too sharp. That’s when we realized we needed something else to break the glare.
Step 3: Enter the Diffuser — The Game Changer
Here’s the truth: no matter how advanced your lighting gear is, you’ll always need a diffuser.
Without it, our lights were creating these intense hot spots on the subject’s face. The skin tones looked uneven, and the whole mood felt “artificial.”
We quickly pulled out the diffuser and placed it between the light and the subject. The change was instant:
- Harsh shadows disappeared.
- The light spread evenly, giving a softer, natural glow.
- The subject’s skin looked balanced, without needing heavy touch-ups.
This is what diffuser photography is all about. A lot of beginners ignore it, but honestly, once you see the before-and-after, you’ll never shoot without one again.
Step 4: Shooting Multiple Angles
One thing we’ve learned over years of shooting: never rely on a single frame.
In this BTS session, we shot from different angles — slightly higher, slightly lower, side profiles, and straight-on shots. Each one had a different mood.
Here’s why multiple shots are crucial:
- Sometimes, the best frame is the one you didn’t plan.
- Small changes in posture or expression create new emotions.
- It gives flexibility in post-production, especially when clients want variety.
We even cracked a few jokes mid-shoot, and those candid laughs made it into the best shots. It’s moments like these that remind us why we love BTS photography — the process is just as valuable as the polished result.
Step 5: From Raw to Final Photos
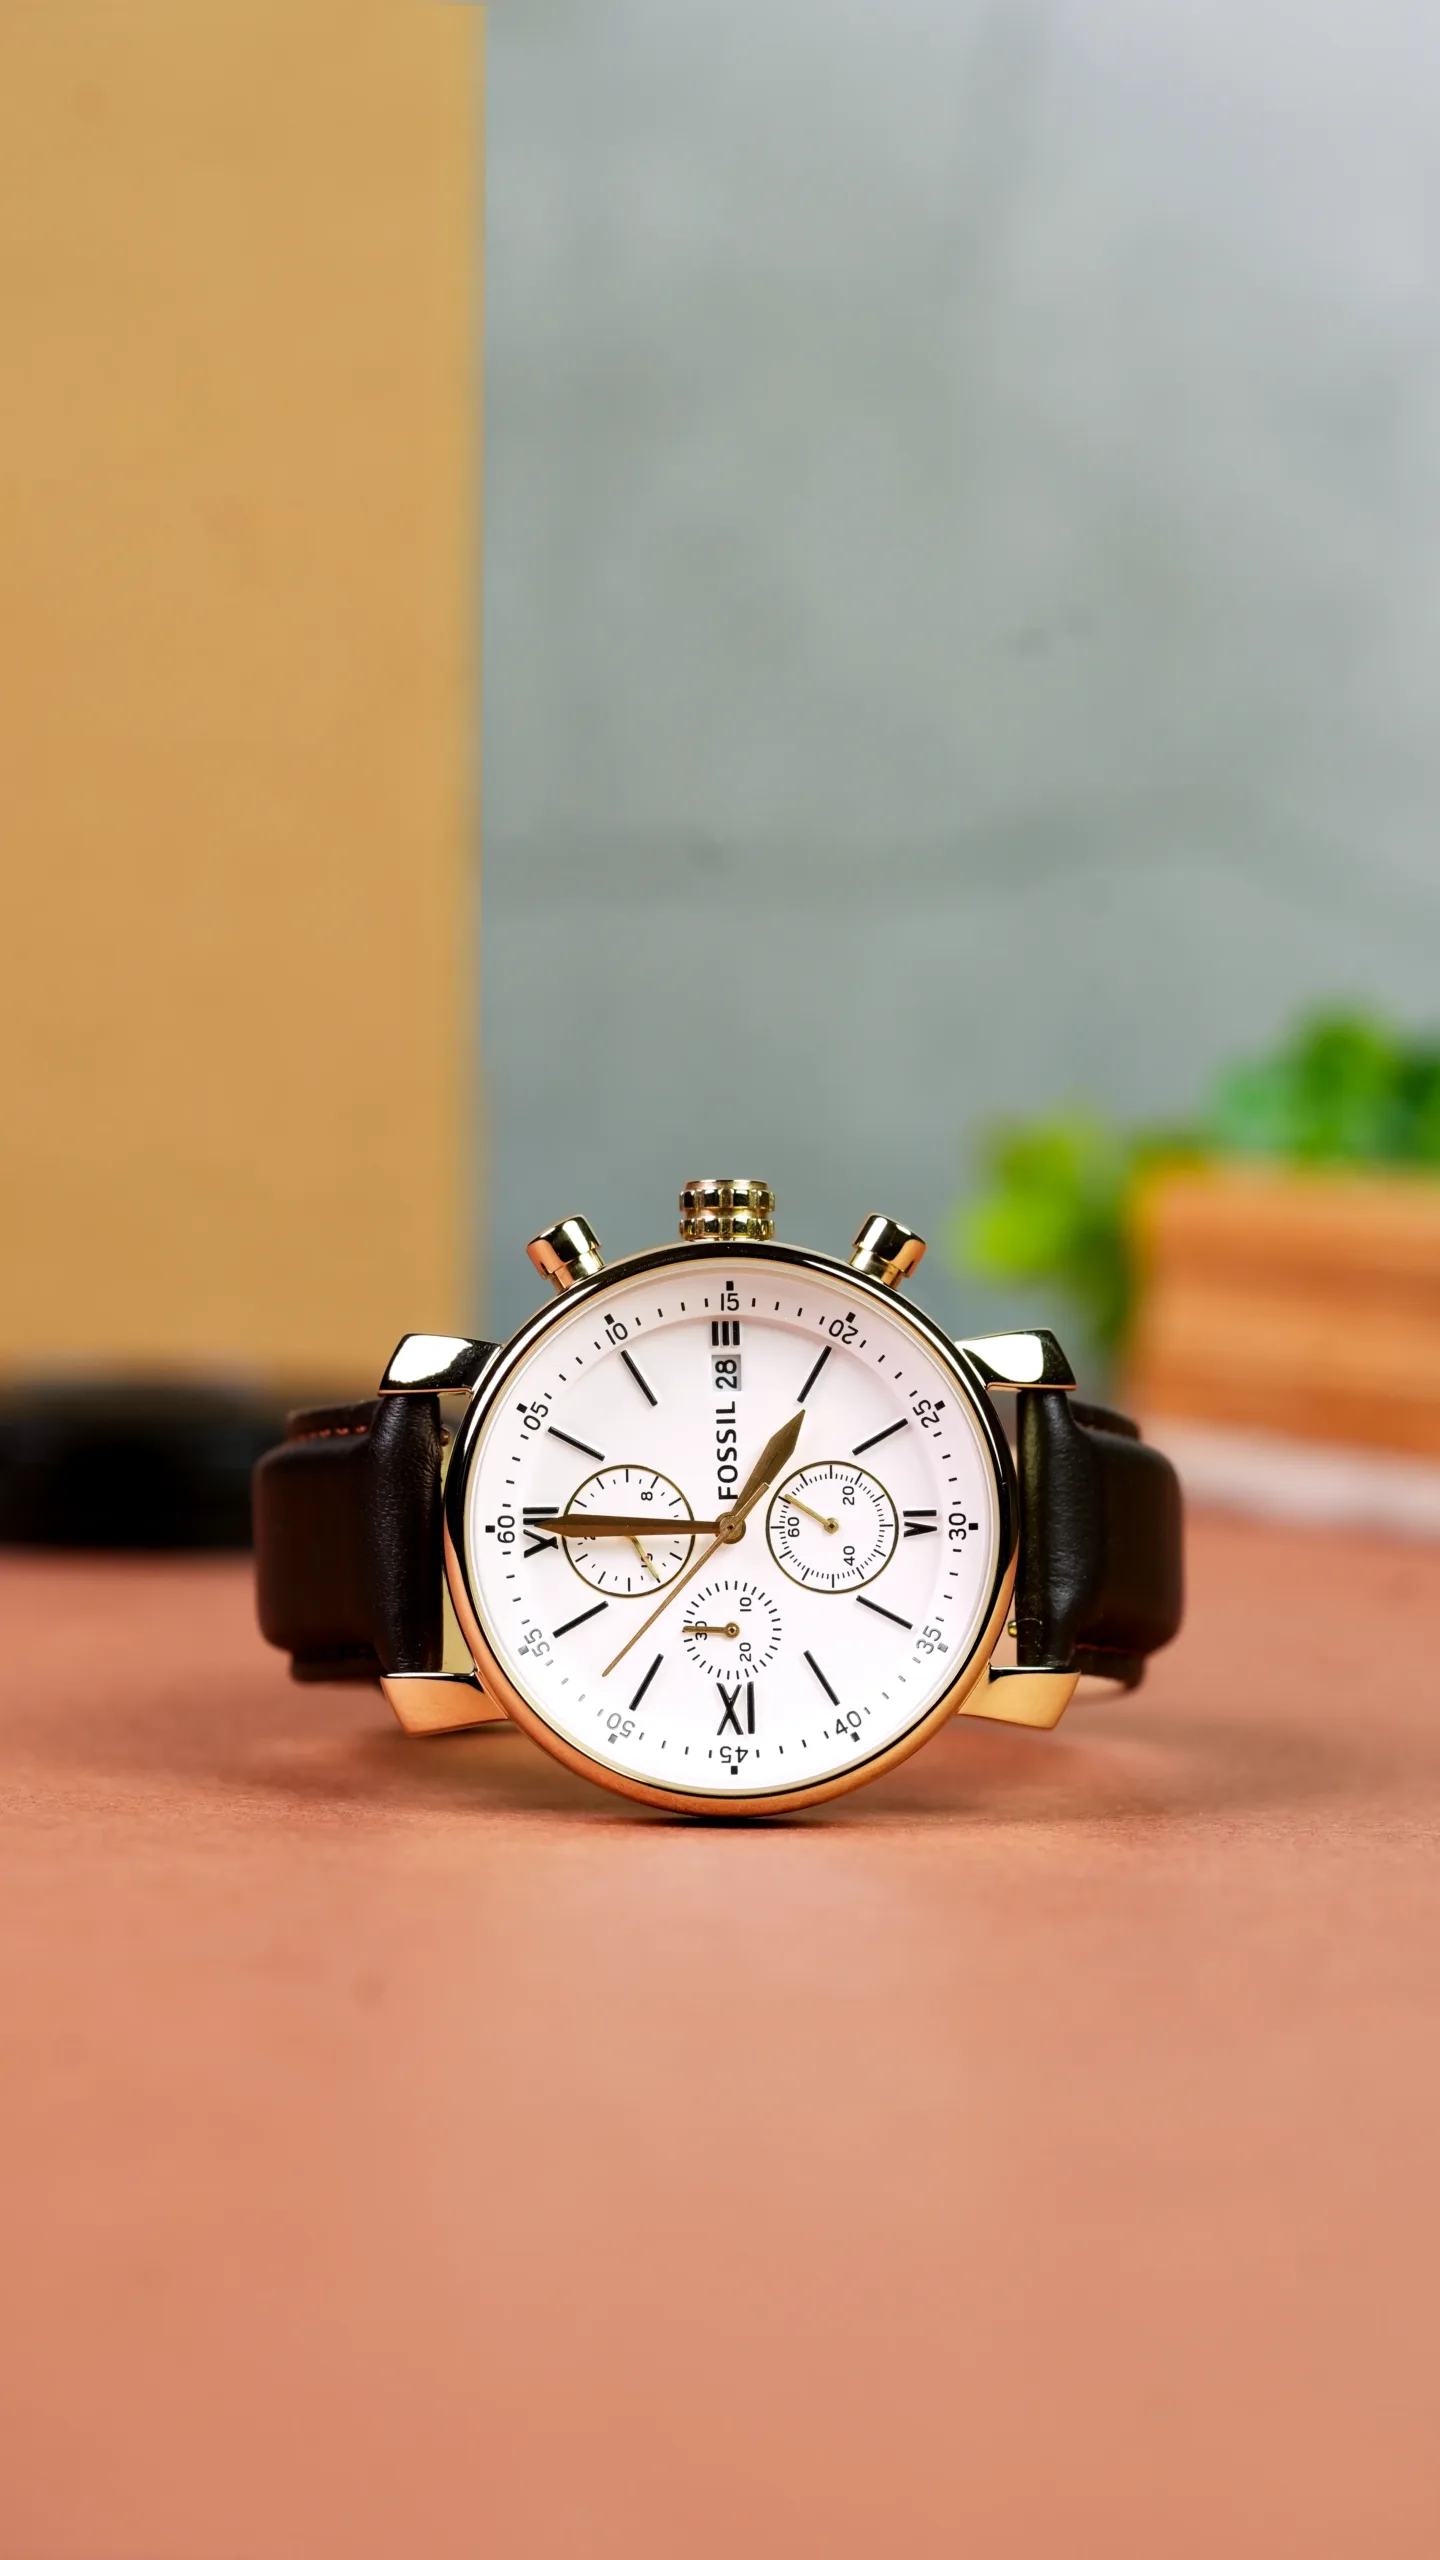
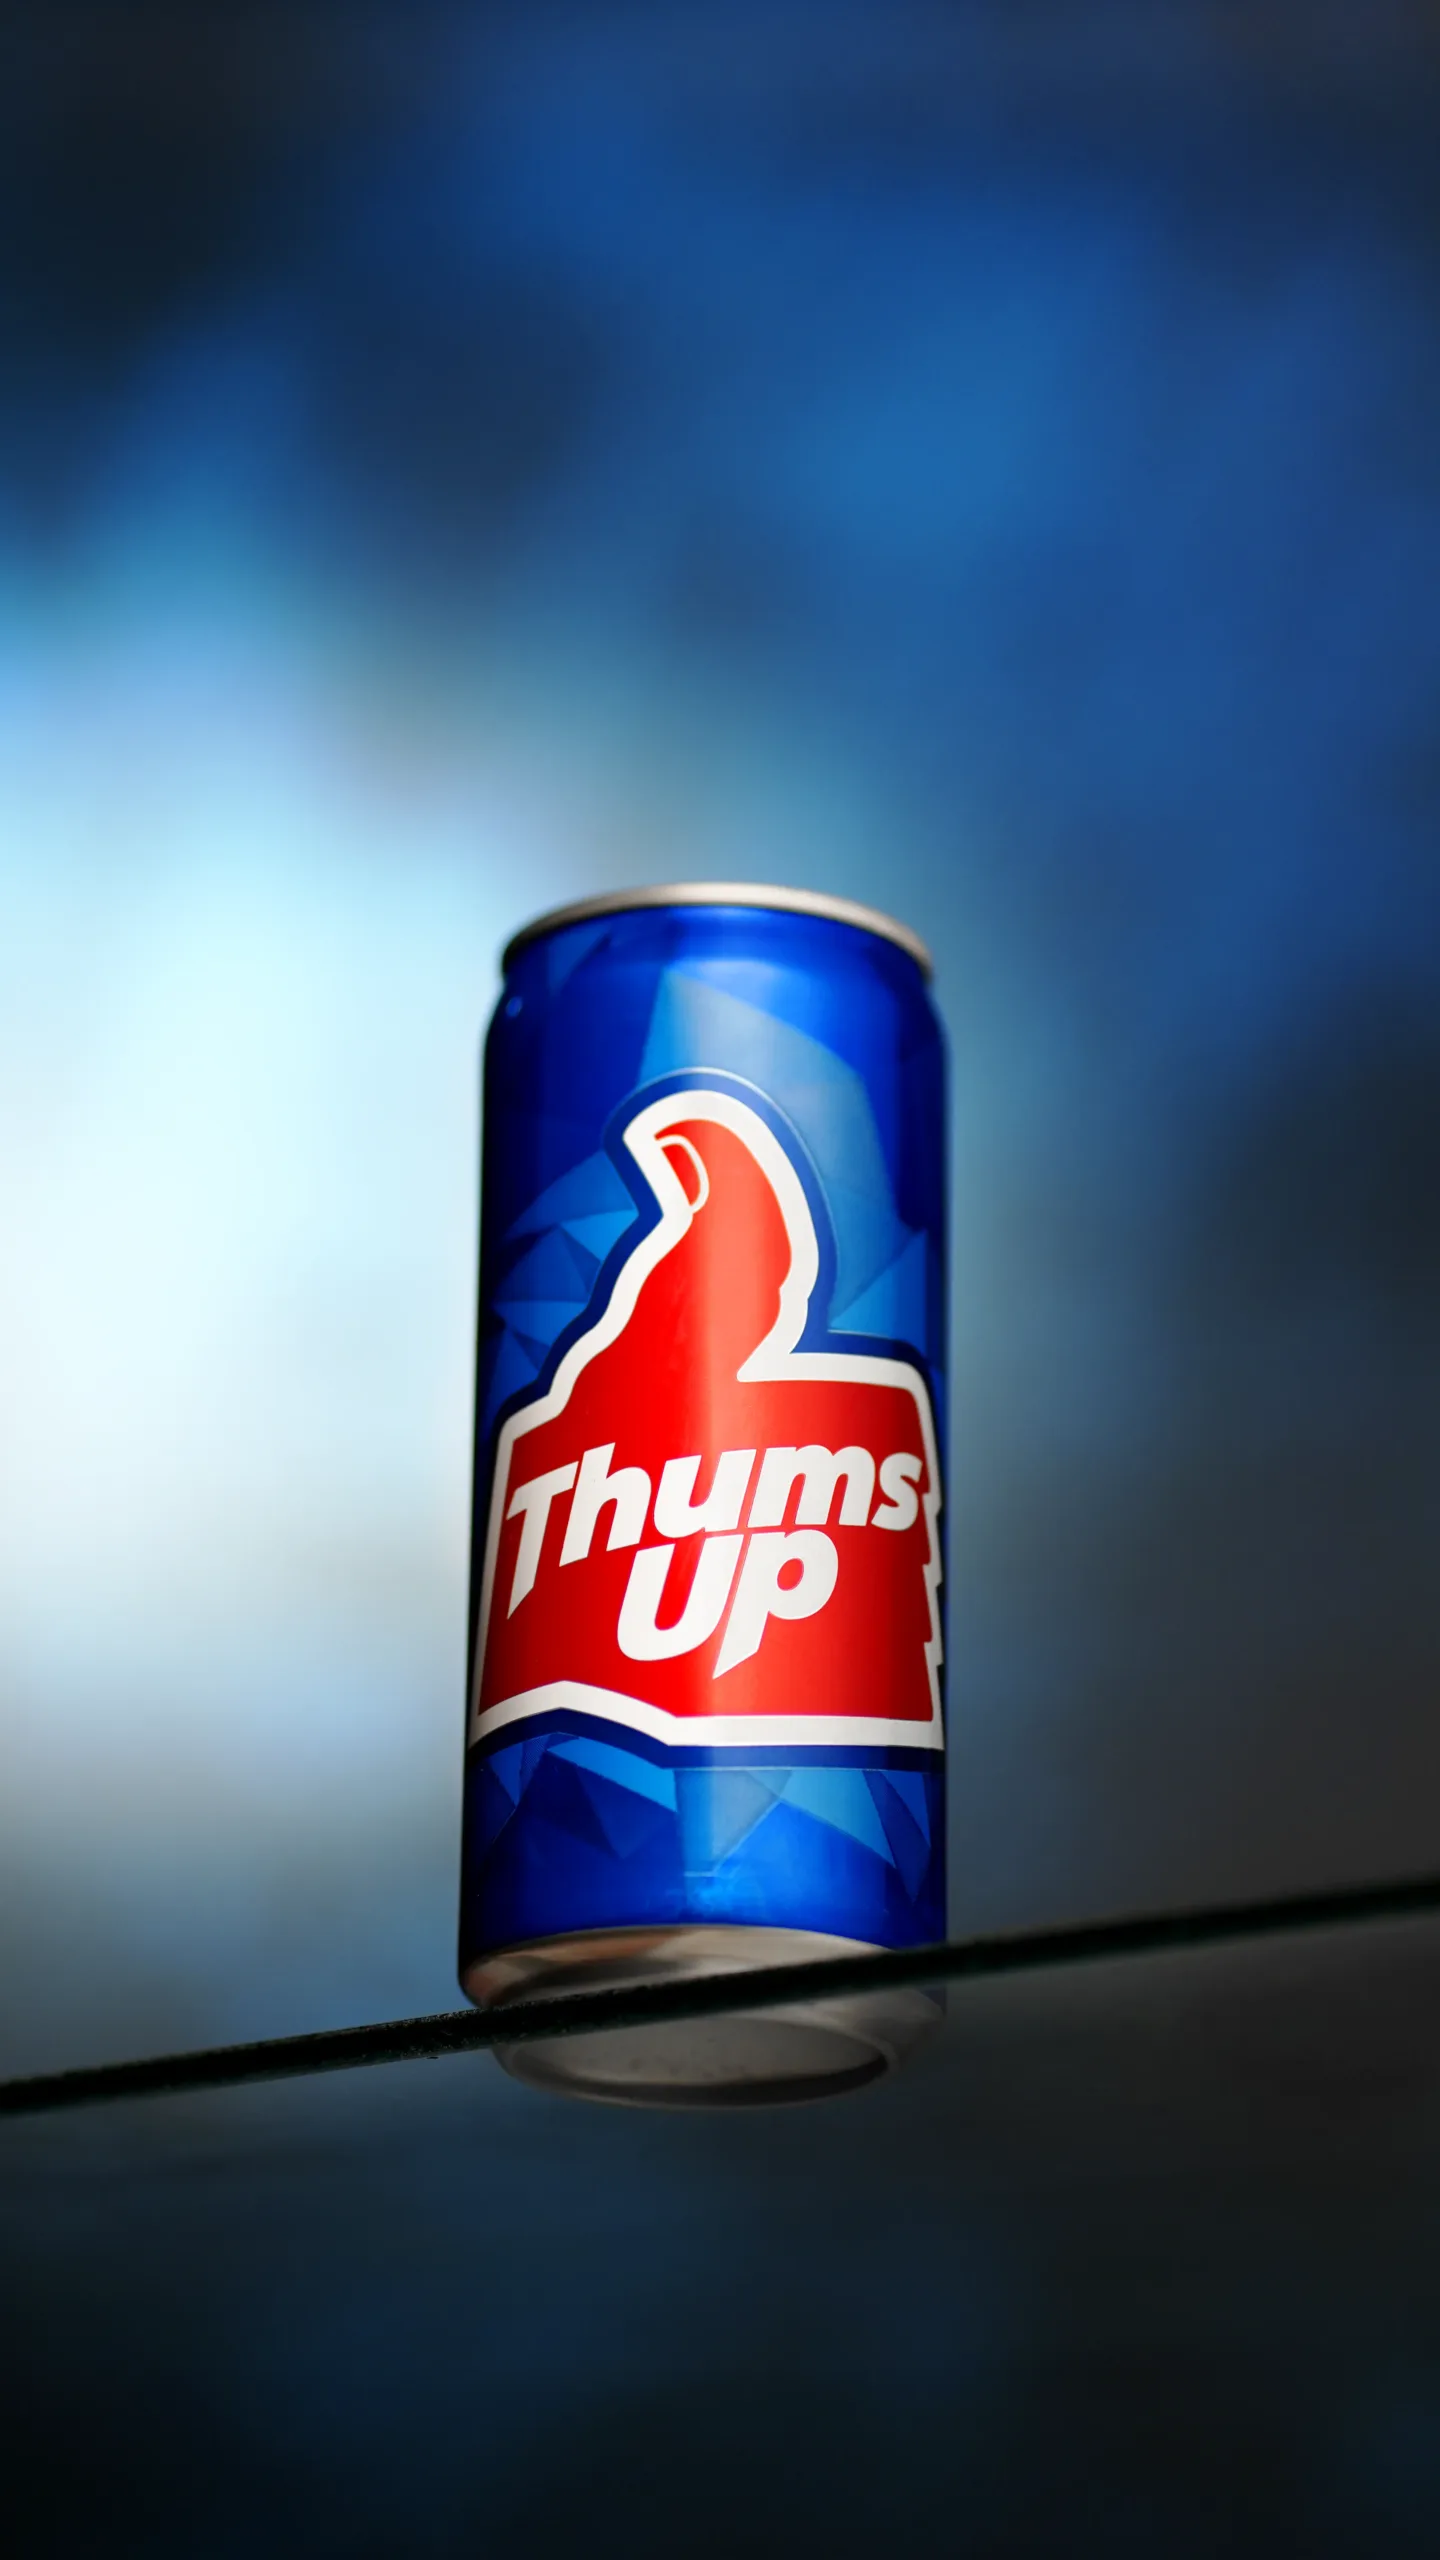
Finally, after hours of adjusting, testing, and reshooting, we landed on the two final photos we were proud of.
When you put them side by side with the BTS clips, the transformation looks magical. But if you watch closely, you’ll notice it’s not really “magic” — it’s just the result of careful photography setup, smart lighting adjustments, and a little help from a diffuser.
Why Sharing BTS Is Powerful
Most people only see the final image. But when you share the behind the scenes video, you’re letting the audience into your creative world.
Why it works:
- It shows authenticity — people see the real effort.
- It creates engagement — transformations are always satisfying to watch.
- It’s educational — others learn how to build setups, use lights, and work with diffusers.
That’s why BTS videography is trending everywhere. It’s not just content; it’s storytelling.
Lessons You Can Take Away
If you’re a creator, here are five quick lessons from our shoot:
- Plan your photography setup carefully.
- Lighting is everything — spend time on it.
- A diffuser is your best friend against harsh lights.
- Don’t stop at one frame — shoot multiple angles.
- Always compare BTS with final results; it helps you grow.
Wrapping It Up
What looks like a flawless photo online usually has a messy, chaotic, and sometimes funny story behind it. From setting up the tripod to battling with light, fixing it with a diffuser, and finally choosing the best frames — the journey matters as much as the result.
At The Vintage Shutter Films, we love showing these behind-the-scenes moments because they’re real. They remind us (and hopefully you) that great work is never about one click — it’s about the process.
So the next time you scroll past a perfect photo, ask yourself: “What must the BTS have looked like?” Chances are, it’s just as interesting as the final result.